Thursday, May 26, 2011

MVC 3D cameras


We are starting to see a range of cool new 3D consumer cameras, like the Sony HDR-TD10 and the JVC GS-TD1, both great companion units to a GoPro 3D Hero setup. ;) The new Sony and JVC cameras record to a single 3D file in a Multiview Video Coding format (MVC) which is very cool, yet it currently has limited video editing compatibility. MVC simplifies the capture down to one video file for 3D, yet doesn't compromise resolution, like side-by-side 3D formats which squish the left and right view it one HD frame. MVC stores two full frames of 1080 HD, not that unlike CineForm's own 3D format. For editing only Sony Vegas 10.0d has any native MVC support and currently only for the Sony camera.


CineForm is planning conversion utilities for all common 3D sources, yet today there aren't any license-able MVC decoders available (we expect this to change soon.) At CineForm we develop our own compression technologies, yet license the standard based ones like MPEG2, H.264 and soon MVC. So what does a new MVC camera owner do in the meantime?

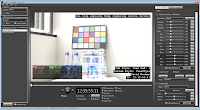
The developer of StereoPlayer has a solution suitable called MVC to AVI Converter for Windows, and it does exactly as it name suggests. While it is not a fancy utility, it has all the needed functionality -- you can select the "CineForm HD Encoder-2" with any CineForm Neo or Neo3D install, and even set the compression level and frame format (to match your source.)


The output will be a left and right CineForm AVI files that can be quickly Muxed into a new CineForm 3D using FirstLight. While this is one more step, the muxing process is completely losses and very fast, as is simply adds left and right eye views into a new file without re-compression. With your new CineForm 3D AVI or MOV file, you can now edit 3D within common video editing tools, adding 3D corrections with key-framing within FirstLight.

Please send me your youtube.com 3D link in the comments with you first successful use of this technique.

Thursday, May 19, 2011

Curves - CineStyle and S-Log, a workflow choice.

The tweets have coming fast with lots of recent activity around shooting curves, particular with the release of Technicolor's CineStyle (tm) profile for Canon DSLRs. I'm all for specialized encoding curves as I once helped developed the Log-90 curve used in the SI-2K (helped by Jason Rodriguez.) What Technicolor has done for Canon was a harder task, to squeeze the most out of an 8-bit heavily compressed H.264 for the best post correct-ability. For the basics on what these curves are doing, please check out my ridiculously long post 10-bit Log vs 12-bit Linear, or for a briefer coverage there is good info on this at prolost.com. In this blog entry I discuss what it might mean for your color correction workflow.

The resulting images from a CineStyle capture are flat and perceptually desaturated, all due to a reverse S-curve that emphasizes shadow detail as if negative contrast is applied. Technicolor very nicely has provide the restoration S-curve LUT (Look Up Table) to normalize the image for video display. So the capture through presentation pipeline is this:

All this bending of the light backwards and forward is about reducing the distortion and noise where it would be most perceived, in the shadows. The sample path without the CineStyle camera profile (Standard or Neutral) would have the camera applying something close to the stand gamma curve. Somewhere in the image processing path you are likely to apply color correction; the two likely places are just before or just after the CineStyle to Gamma correction LUT. You may also color correct without using the technicolor restoration LUT, if you target output is for a video gamma you are producing some of this curves features manually (not a bad thing.)

Consequences of applying color correction after the LUT. First note, the sample LUT is only 8-bit so if you want to do high-precision color correction (10-bit or greater), let's hope the CC tool being used is interpolating values between entries (we do this in FirstLight.) The bigger issue is the LUT contains flat spots, for which no detail can be extracted later, deep interpolation will not help. In the restoration of display contrast some values are flatten to black or white levels, so that post correction can't reveal the lost data. I wouldn't recommend color correction after or on top of the LUT, other than for minor corrections.

Consequences of color correction before (or underneath) the LUT (or not using the LUT at all). While the 8-bit flat spotted output LUT would still seem bad, color correction and previewing the results through the LUT is still a fine solution. The 8-bit is not such an issue on final output, most displays and present formats are 8-bit -- you simply don't want to truncate to 8-bit before you have obtained the look your are after. A new issue arises, you are now color correcting upon a unknown (to most NLEs) non-standard curve. If your color tool has post corrections for exposure or white-balance (and some saturation tools) generally need to know what the source curve is, as these are linear light operations.

To help illustrate this issue, here is the math for one stop exposure correction : Lifting a linear light grey level of 20% up one stop should become 40%. Each stop up is times two, and each stop down you divide by two. Yet with a wrong curve applied (such as not removing a 2.2 gamma used in this example) the same one stop shift would move 20% grey to 93%. Things can get messed up. White balance is also a linear-light gain upon R, G, B channels, so don't expect that Kelvin temperature slider to work the same as source with different curves.

Now if you simply color correct until it looks good, who really cares if the math is wrong, after all this is a creative process not a lesson in the math of optics. To get an apparent exposure change will be tweaking gain and gamma control for approximately the same look. But if you want your color correction sliders to do what they say, and have a easier time in post, here is how CineForm does it in FirstLight and in the new (upcoming) GoPro CineForm Studio line of products.

FirstLight has a control panel you many have never used called "Workspace".

In the latest release of Mac and PC versions of Neo and Neo3D (v5.5.1) we have added CineStyle type curve ("CStyle") and Sony's S-Log curves for a current total of 12 different curve types. The defaults have the encode and decode curves set to "Video Gamma", this is correct for 99% of HD video source most users have been using. When you bring in a new CineStyle clip, default of Video Gamma is still set, but as this is only metadata you can change these parameters as you need. When changing both to "CStyle" the result is exactly as the source data looks, as shown in this screen grab.
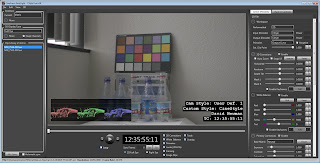

Side note: You can also see that the picture profile information is stored within the Canon metadata (which FirstLight can display) -- these tests were performed using a Canon 7D.

While adding the metadata "CStyle" for encode and decode doesn't change the base image look, it now allows white-balance, exposure and saturation control to work correctly. There is no performance or quality impact to set this metadata correctly. As I'm sure you have many clips, and as this data is per clip information, you can simply copy and paste these metadata settings across all imported clips.

With your CStyle encode/decode set you can now freely color correct with or without the restoration LUT applied. The CStyleLUT is also provided under the Look metadata. The LUT is the last operation in the FirstLight color filter stack, so LUT flat spots will not impact the correct-ability of the source.
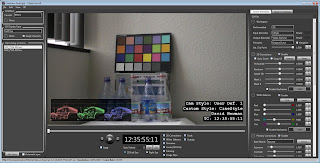
However we can avoid the LUT completely (useful if you intend further corrections outside of FirstLight) by setting the Output (decode) curve to Video Gamma (or Cineon or S-Log or whatever your workflow uses.) Now the CineStyle is developed to the target output curve*.

* this does not use the LUT, rather a continuous curve that models the look without flat spots or bit-depth limitations.

Revisiting the exposure example above, these images has been bumped up one stop (Exposure set to 2.0) resulting in two vastly different results.
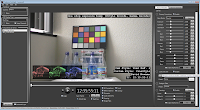
Using CStyle vs ignoring the source curve.

Note: non-curve based exposure in FirstLight is simulated as producing this error is not standard operation in the tool. If I used the wrong encode curve, such at "Video Gamma" for a CineStyle source, the results are still wrong, but not quite as wrong as the right image shown here.

While I have used CineStyle for my testing here, the same benefits will be true for Sony's new F3 S-Log option -- I look forward to trying that out myself (hint hint, Sony.)

Thursday, April 14, 2011

My annual FreshDV NAB interview

See me exhausted after 4 days of our most exciting NAB every, discussing some of the impact of the GoPro acquisition of CineForm (yes it was that way around, we had many express their surprise that we brought GoPro.)

My FreshDV interview .

Technical corrections to the above. Sorry Resolve, I had temporarily forgotten your name. And I meant Phantom, not Viper, in the very end of the interview.

Monday, April 04, 2011

GoPro and CineForm

I know I own everyone a nice long blog entry on the recent GoPro acquisition of CineForm. Yes the team at CineForm is very pleased about this. In the meantime (with NAB so near), I there is no way can do better than this quote from John Hewat over on DVInfo.net:

"CineForm and GoPro make what I consider the two easiest, smoothest products that I ever get to use. I'm very pleased that they're together now. I rarely ever edit anything without converting to Cineform and I rarely leave the house without my GoPro."

Monday, January 24, 2011

Another overstatement that 3D won't work.

Roger Ebert, blog post : Why 3D doesn't work and never will. Case closed. with the help of Walter Murch, tries to use some science to explain that 3D won't ever work, but gets the science wrong.

Here is my reply (on his blog) in response to his post:

While there are issues with 3D presentation, the claim that the "convergence/focus" issue makes 3D unsolvable is false. There is an error made in the assumption that "the audience must focus their eyes at the plane of the screen"; while that is generally true for objects close to a viewer in space, it is not true for a movie screen "80 feet away."

In optics there is the concept of hyper-focal distances -- there is a focal distance in which a lens will resolve all objects at that distance and beyond such that they appear in focus. The human eye is just another lens. While calculating the hyper-focal distance of the human eye is tricky, and likely has a good degree of variance between subjects, the distance for theatrical viewing is well beyond the needed range for all but Superman. Various ways of computing the hyper-focal range of the eye suggests that objects from around 15 feet to infinity will appear in focus. That means a 3D presentation that has objects appearing no closer than 15 feet and beyond will appear in focus whether the audience is focusing at the screen plane or not -- the eye is free to converge and focus anywhere within the volume of space projected, just as it naturally would.

While there are many areas that can and should be improved, presentation brightness, left/right cross-talk, glasses comfort, and the artistic battle of shallow vs deep depth of field for 3D, eye focusing for theatrical presentations is not an issue.

I wrote more technical details about this when Daniel Engber's article in Slate made the same claim on my blog (here.)

David Newman

CTO, CineForm


Update 01/25/2011: I see that lots of people are reading this. Thank you for dropping by. Some twitter comments have asked "what about TV, that is less than 15 feet away?" Fortunately the same optical principles apply, just with a smaller 3D volume -- which I have covered prevously here. A theatrical 3D release which might have 3D preceived depth from half way to the screen to infinty, has its depth shrunk when placed on a 5-10X smaller screen, resulting in a 3D volume say from 6 to 30+ feet, which happens to be within the depth of field for the human eye for a screen placed 12 feet away. As the screen shrinks further, so does the 3D volume, allowing 3D to work within the eyes abilities at most scales.

Friday, December 10, 2010

Stopmotion / Timelapse Stereo RAW conversions

In the last few posts I have enhanced to support for camera RAW to CineForm RAW conversions, and this feature was released as part of the Windows Neo4K or Neo3D builds yesterday (Dec 09, 2010.)  The DPX2CF tool itself has since undergone one more update to support stereo conversions of RAW sources.  

DPX2CF v6.02 Download  (replace in C:\Program Files (x86)\CineForm\Tools)

The syntax for raw sources is just like it is for stereo DPX conversions.

For separate folders:

DPX2CF leftDir/*.DNG rightDir/*.DNG outDir/stereo.avi 

or unique left/right eye naming:

DPX2CF path/*L.CR2 path/*R.CR2 outDir/stereo.mov


There is also a new stereo mode for sequences that a capture L,R,L,R,... or R,L,R,L..., for single camera motion controlled rigs. The switch -sL set Left eye first or -sR the right eye. Notice that the sample source path is used twice:

DPX2CF path/*.CR2 path/*.CR2 outDir/stereo.mov -sL


Note: There were a couple of minor bug fixes and also the new the ability to window the pixels you want. So if you only need the center 4K form a 5.2K RAW file, you do this:

DPX2CF path/*.CR2  outDir/clip.mov -sL -L(600,100,4696,2404) 

Tuesday, November 30, 2010

Follow up on the Camera RAW to CineForm RAW

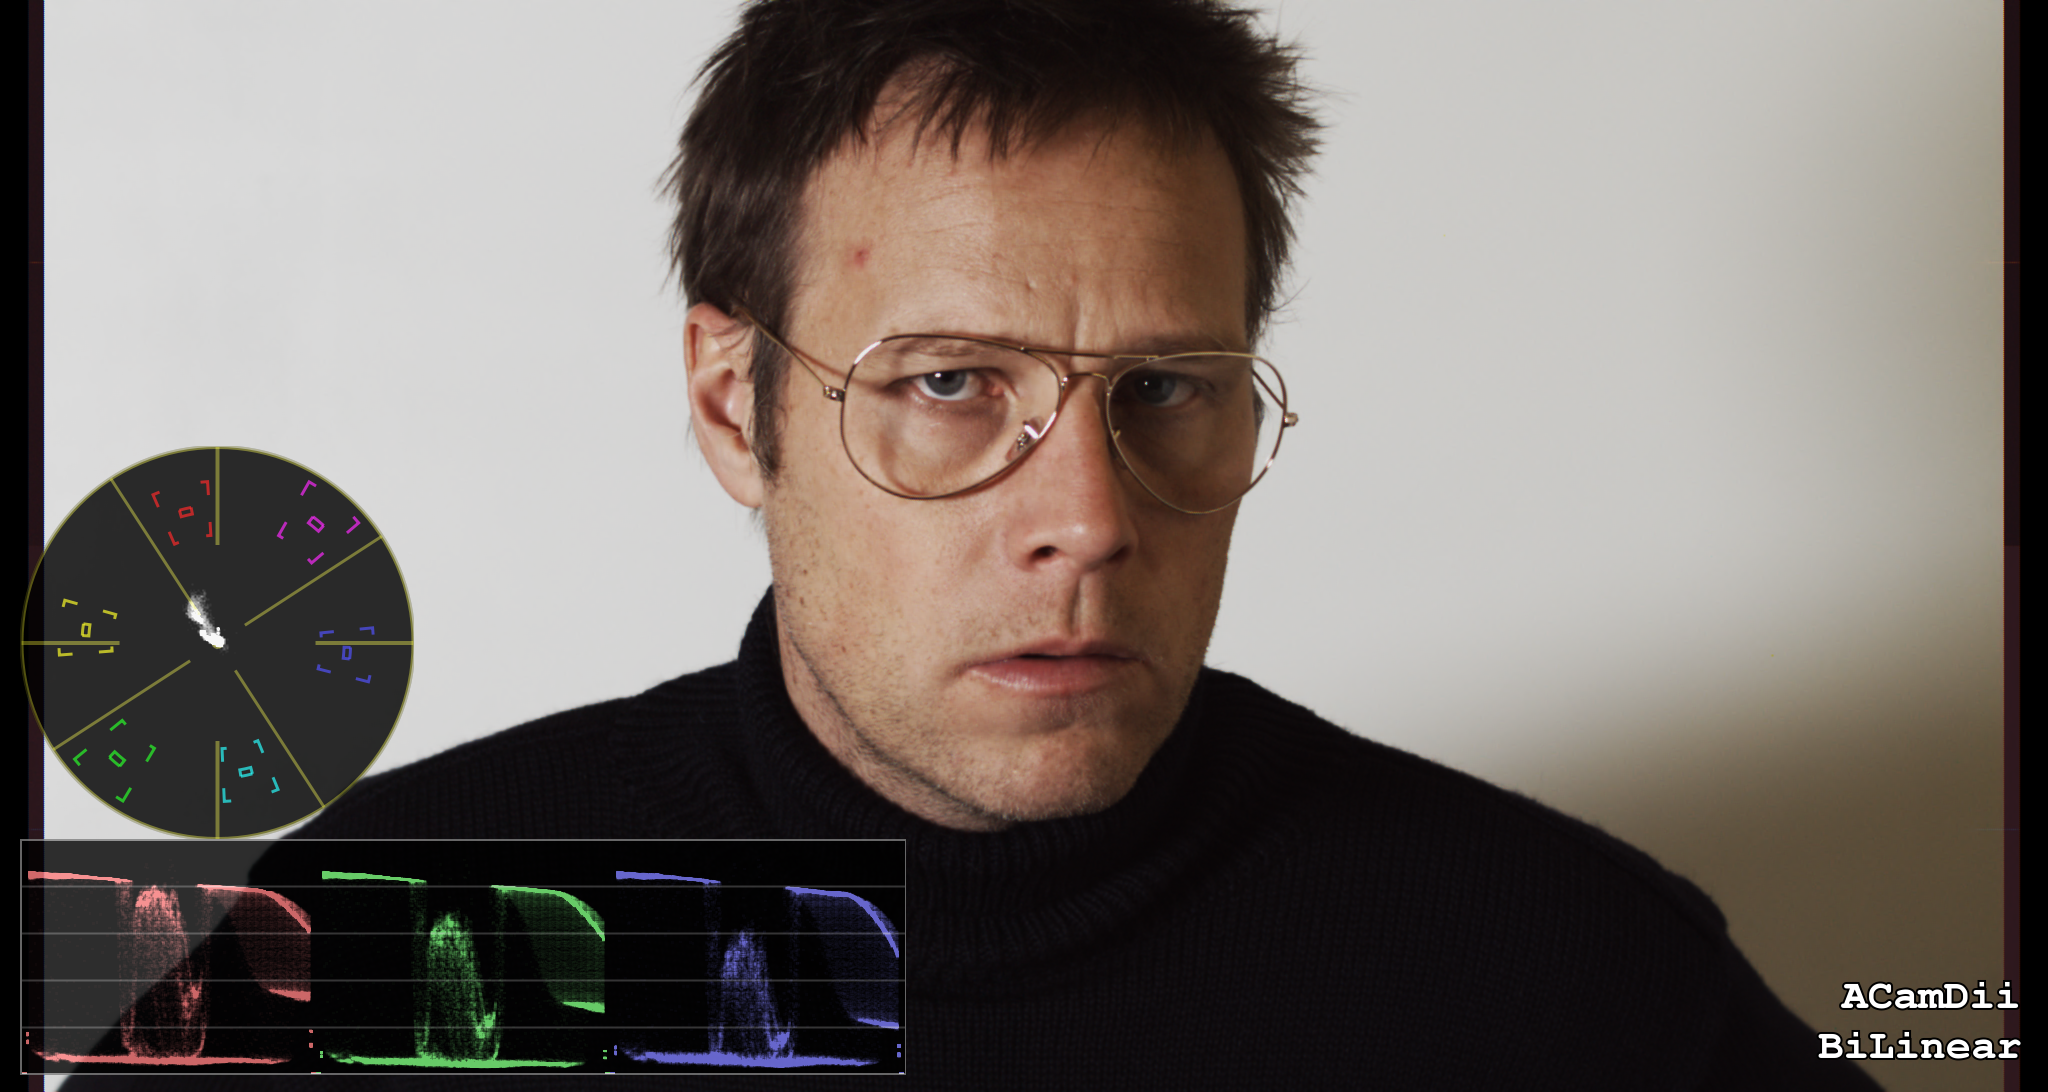
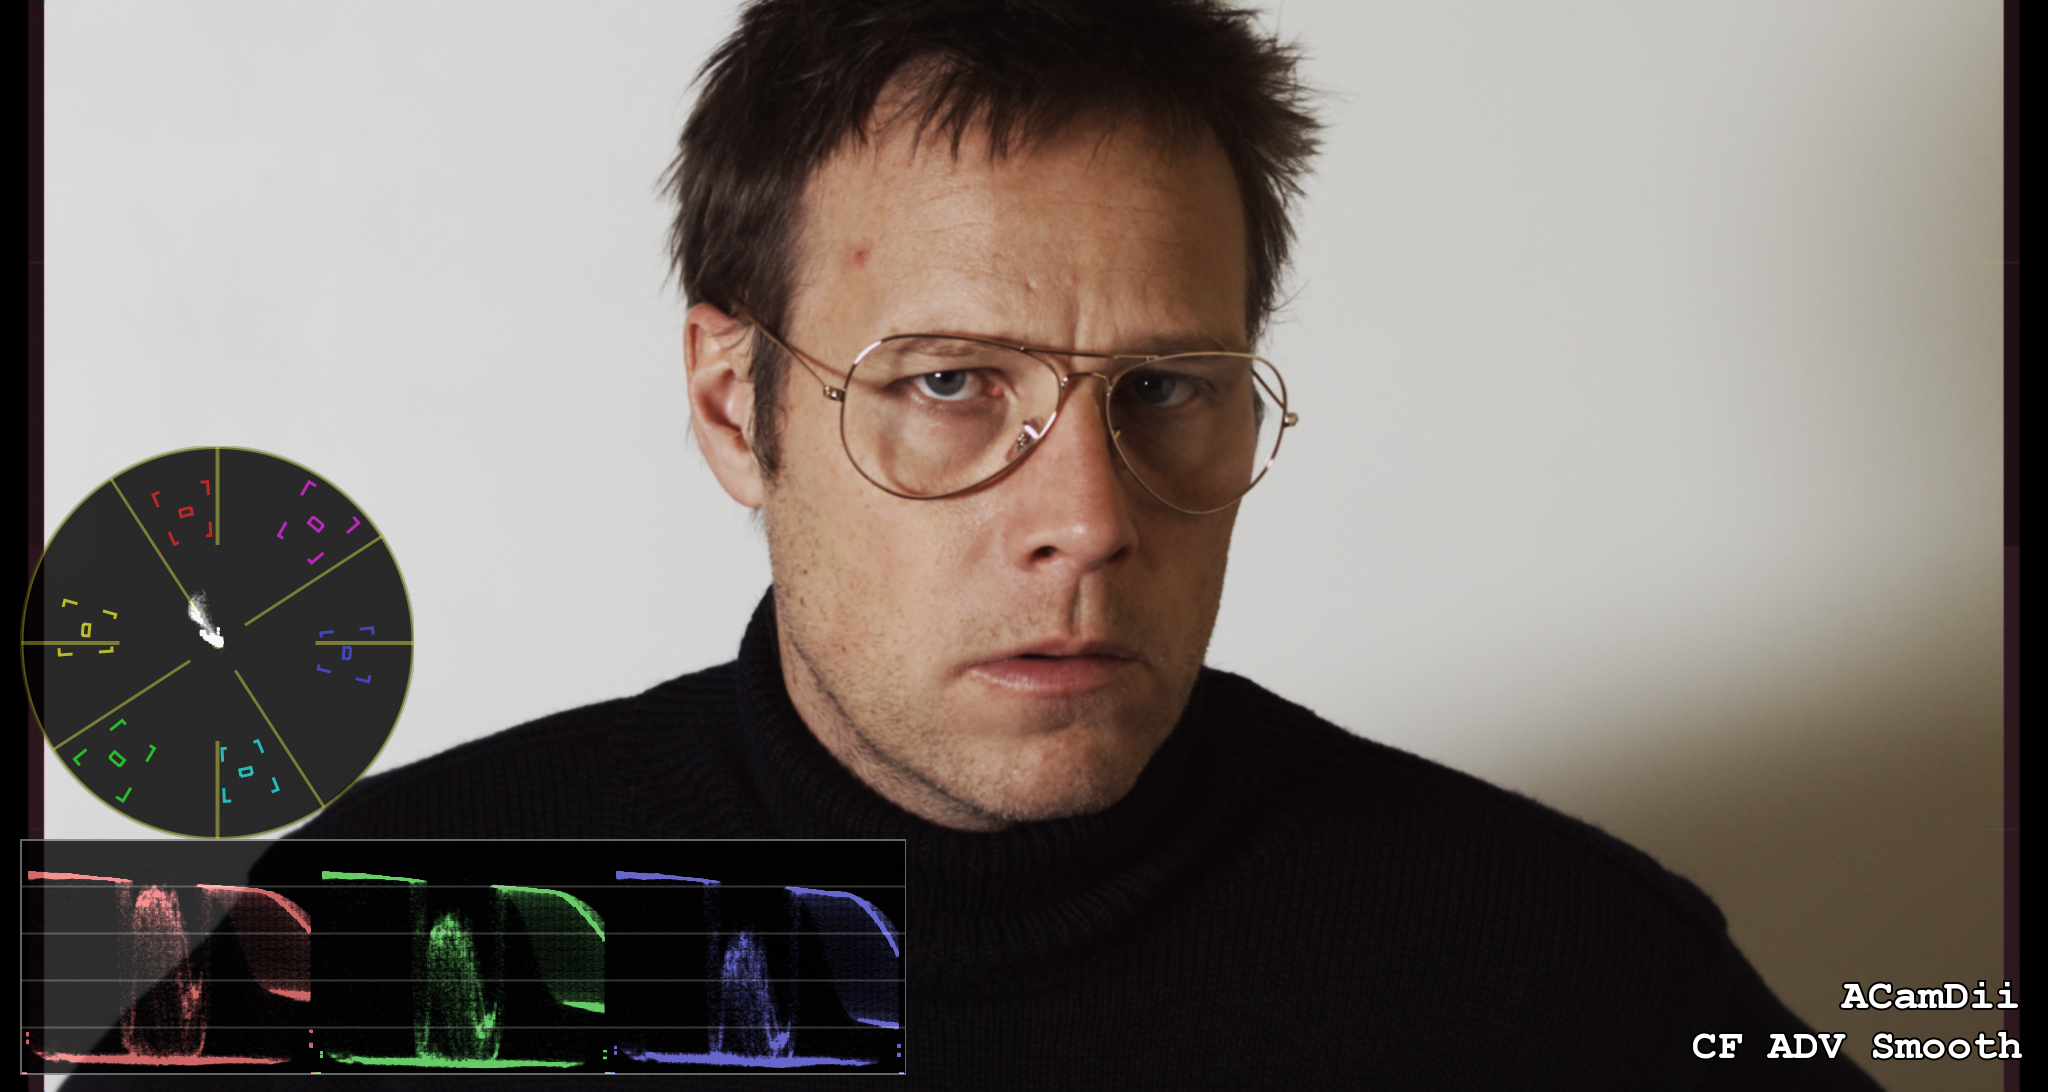
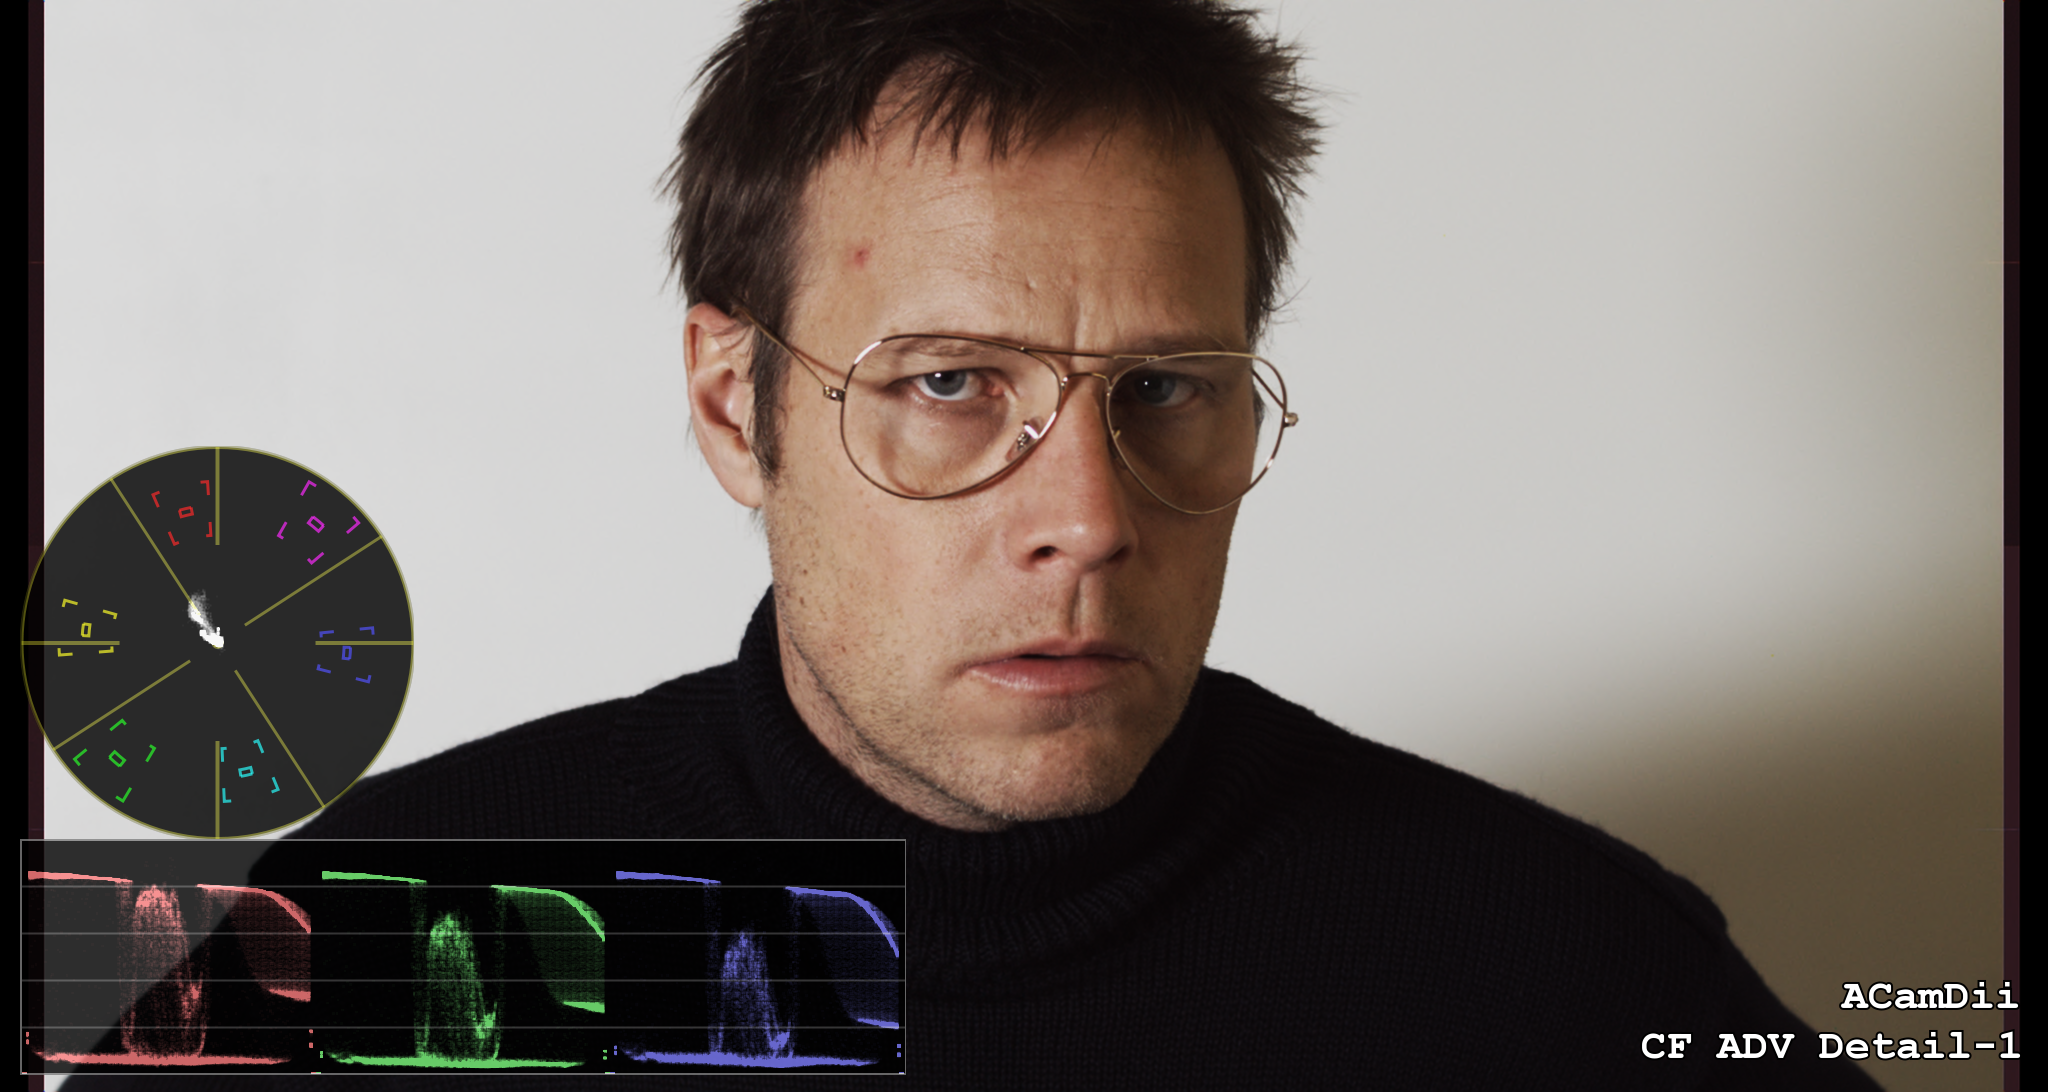
Now that you have your Camera RAW images in a CineForm RAW file (see last post), remember to set the demosaicing quality/look in FirstLight.  There are currently 9 different demosaicing filters to select from, each we slightly different image characters for detail and sharpness. This is just another control you have over the development of motion RAW sequences.  

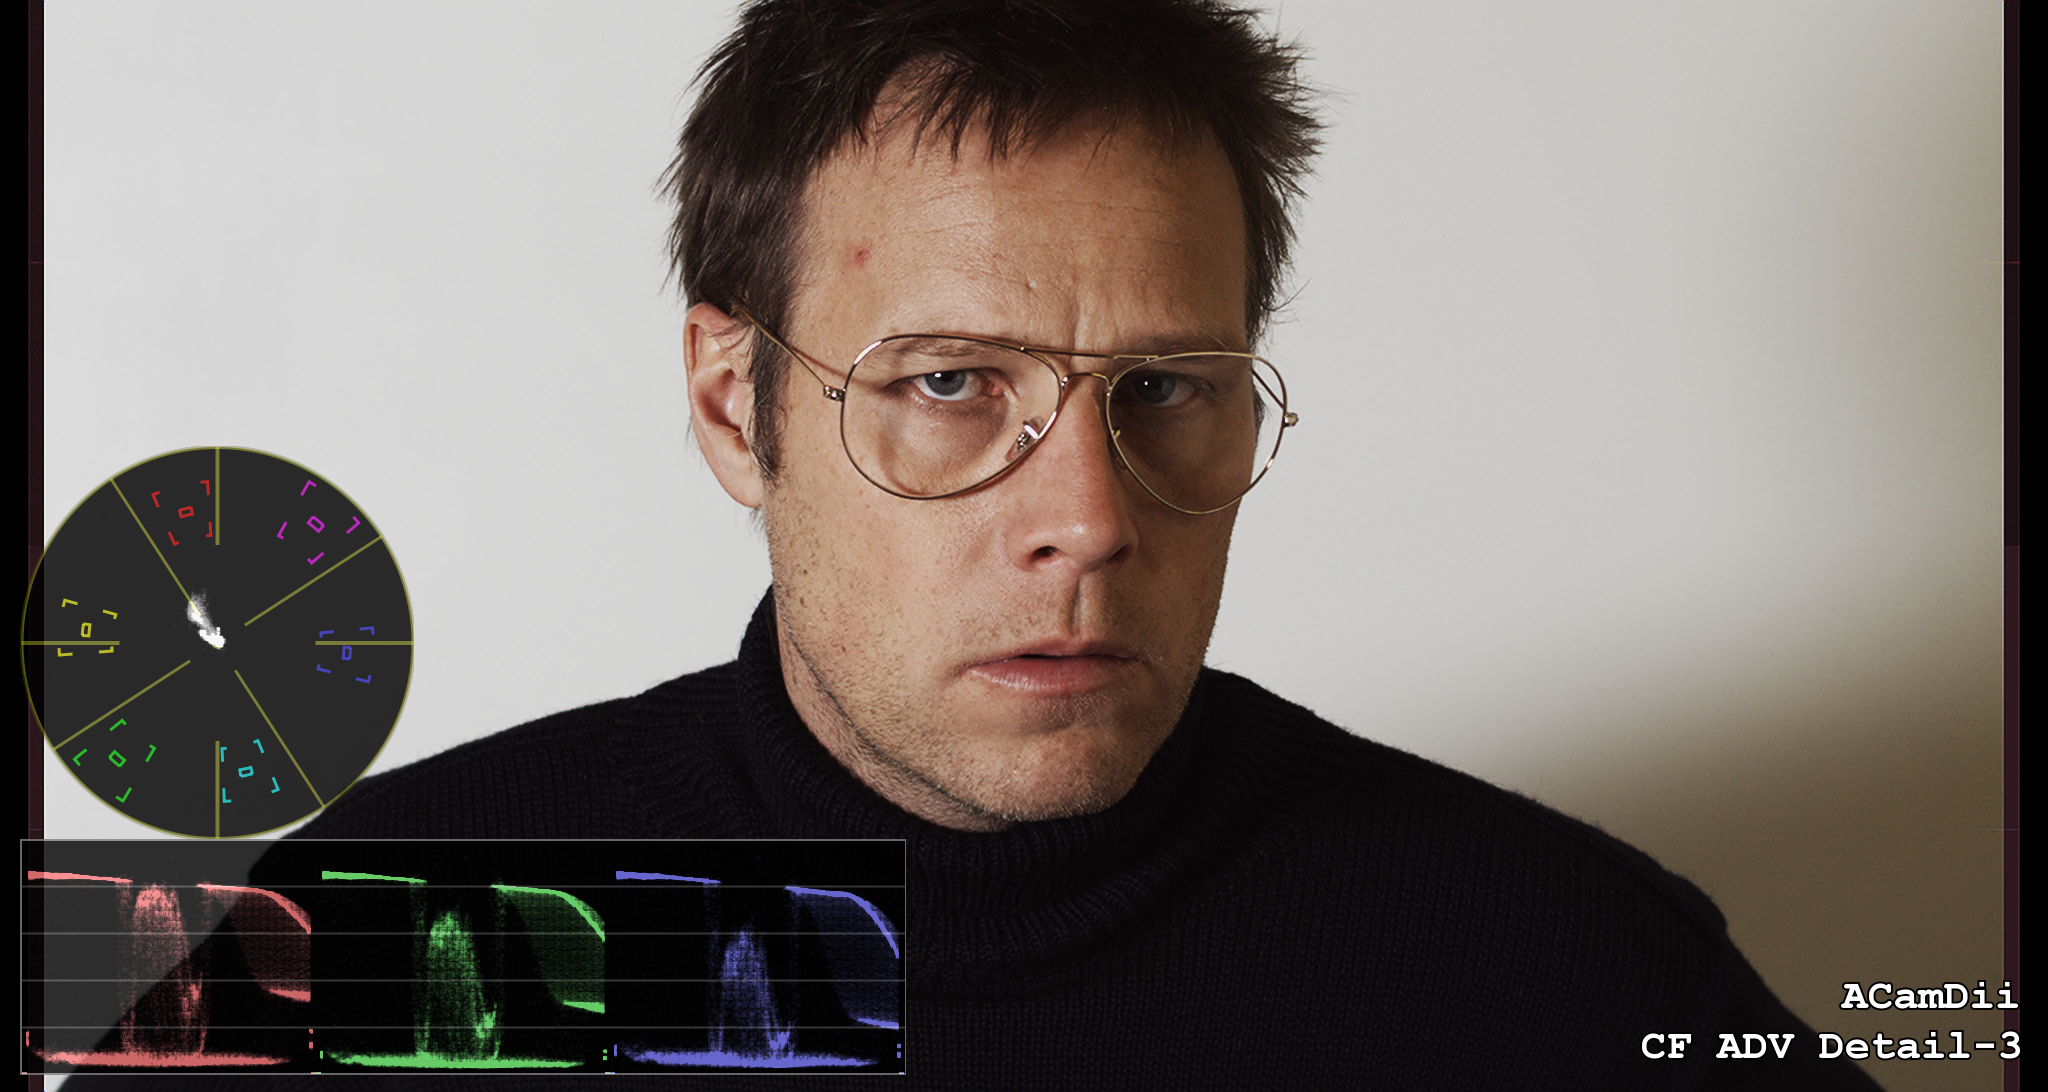
Click on the image to the left for a closer look a several demosaicing options.  These were samples of a DNG sequence shot with the new Ikonoskop ACamDii.

The full frame PNG exports are available here:

Bilinear, Smooth, Detail1, Detail2 and Detail3.

More metrics.  Source 52 frames, 166MB as DNG files; compressed to CineForm RAW in Filmscan-1 quality is 20.1MB (used in examples), and CineForm RAW in Filmscan-2 is 33.5MB.  


The FirstLight color database entry (unzip and double click) is only 476 bytes to convert this to this. 

 If you you would like to repeat these tests yourself, get the latest Neo4K or 3D and these DNG source frames.