See me exhausted after 4 days of our most exciting NAB every, discussing some of the impact of the GoPro acquisition of CineForm (yes it was that way around, we had many express their surprise that we brought GoPro.)
My FreshDV interview .
Technical corrections to the above. Sorry Resolve, I had temporarily forgotten your name. And I meant Phantom, not Viper, in the very end of the interview.
Thursday, April 14, 2011
My annual FreshDV NAB interview

Monday, April 04, 2011
GoPro and CineForm
I know I own everyone a nice long blog entry on the recent GoPro acquisition of CineForm. Yes the team at CineForm is very pleased about this. In the meantime (with NAB so near), I there is no way can do better than this quote from John Hewat over on DVInfo.net:
"CineForm and GoPro make what I consider the two easiest, smoothest products that I ever get to use. I'm very pleased that they're together now. I rarely ever edit anything without converting to Cineform and I rarely leave the house without my GoPro."
Monday, January 24, 2011
Another overstatement that 3D won't work.
Roger Ebert, blog post : Why 3D doesn't work and never will. Case closed. with the help of Walter Murch, tries to use some science to explain that 3D won't ever work, but gets the science wrong.
Here is my reply (on his blog) in response to his post:
While there are issues with 3D presentation, the claim that the "convergence/focus" issue makes 3D unsolvable is false. There is an error made in the assumption that "the audience must focus their eyes at the plane of the screen"; while that is generally true for objects close to a viewer in space, it is not true for a movie screen "80 feet away."
In optics there is the concept of hyper-focal distances -- there is a focal distance in which a lens will resolve all objects at that distance and beyond such that they appear in focus. The human eye is just another lens. While calculating the hyper-focal distance of the human eye is tricky, and likely has a good degree of variance between subjects, the distance for theatrical viewing is well beyond the needed range for all but Superman. Various ways of computing the hyper-focal range of the eye suggests that objects from around 15 feet to infinity will appear in focus. That means a 3D presentation that has objects appearing no closer than 15 feet and beyond will appear in focus whether the audience is focusing at the screen plane or not -- the eye is free to converge and focus anywhere within the volume of space projected, just as it naturally would.
While there are many areas that can and should be improved, presentation brightness, left/right cross-talk, glasses comfort, and the artistic battle of shallow vs deep depth of field for 3D, eye focusing for theatrical presentations is not an issue.
I wrote more technical details about this when Daniel Engber's article in Slate made the same claim on my blog (here.)
David Newman
CTO, CineForm
Update 01/25/2011: I see that lots of people are reading this. Thank you for dropping by. Some twitter comments have asked "what about TV, that is less than 15 feet away?" Fortunately the same optical principles apply, just with a smaller 3D volume -- which I have covered prevously here. A theatrical 3D release which might have 3D preceived depth from half way to the screen to infinty, has its depth shrunk when placed on a 5-10X smaller screen, resulting in a 3D volume say from 6 to 30+ feet, which happens to be within the depth of field for the human eye for a screen placed 12 feet away. As the screen shrinks further, so does the 3D volume, allowing 3D to work within the eyes abilities at most scales.
Friday, December 10, 2010
Stopmotion / Timelapse Stereo RAW conversions
In the last few posts I have enhanced to support for camera RAW to CineForm RAW conversions, and this feature was released as part of the Windows Neo4K or Neo3D builds yesterday (Dec 09, 2010.) The DPX2CF tool itself has since undergone one more update to support stereo conversions of RAW sources.
DPX2CF v6.02 Download (replace in C:\Program Files (x86)\CineForm\Tools)
The syntax for raw sources is just like it is for stereo DPX conversions.
For separate folders:
DPX2CF leftDir/*.DNG rightDir/*.DNG outDir/stereo.avi
or unique left/right eye naming:
DPX2CF path/*L.CR2 path/*R.CR2 outDir/stereo.mov
There is also a new stereo mode for sequences that a capture L,R,L,R,... or R,L,R,L..., for single camera motion controlled rigs. The switch -sL set Left eye first or -sR the right eye. Notice that the sample source path is used twice:
DPX2CF path/*.CR2 path/*.CR2 outDir/stereo.mov -sL
Note: There were a couple of minor bug fixes and also the new the ability to window the pixels you want. So if you only need the center 4K form a 5.2K RAW file, you do this:
DPX2CF path/*.CR2 outDir/clip.mov -sL -L(600,100,4696,2404)
Tuesday, November 30, 2010
Follow up on the Camera RAW to CineForm RAW
 Now that you have your Camera RAW images in a CineForm RAW file (see last post), remember to set the demosaicing quality/look in FirstLight. There are currently 9 different demosaicing filters to select from, each we slightly different image characters for detail and sharpness. This is just another control you have over the development of motion RAW sequences.
Click on the image to the left for a closer look a several demosaicing options. These were samples of a DNG sequence shot with the new Ikonoskop ACamDii.
The full frame PNG exports are available here:
Bilinear, Smooth, Detail1, Detail2 and Detail3.
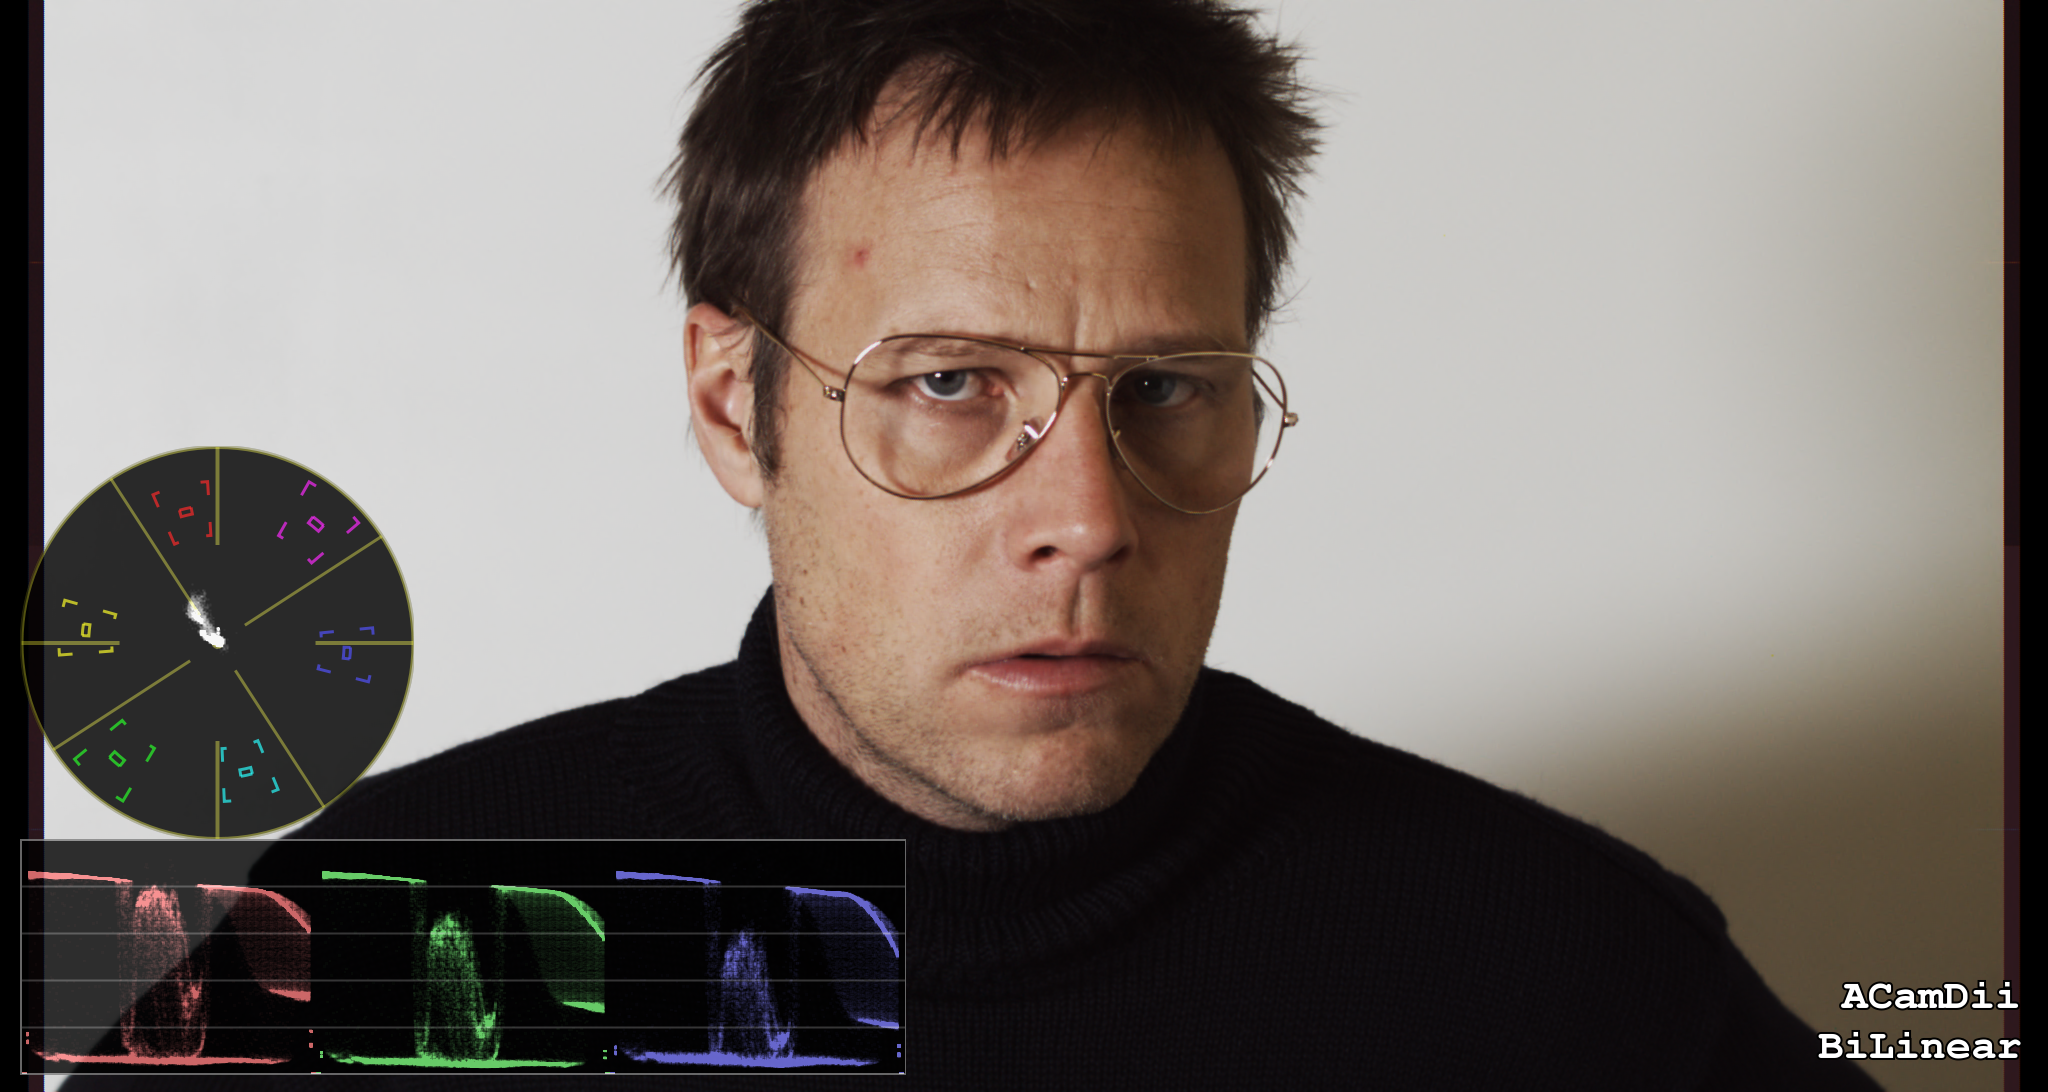
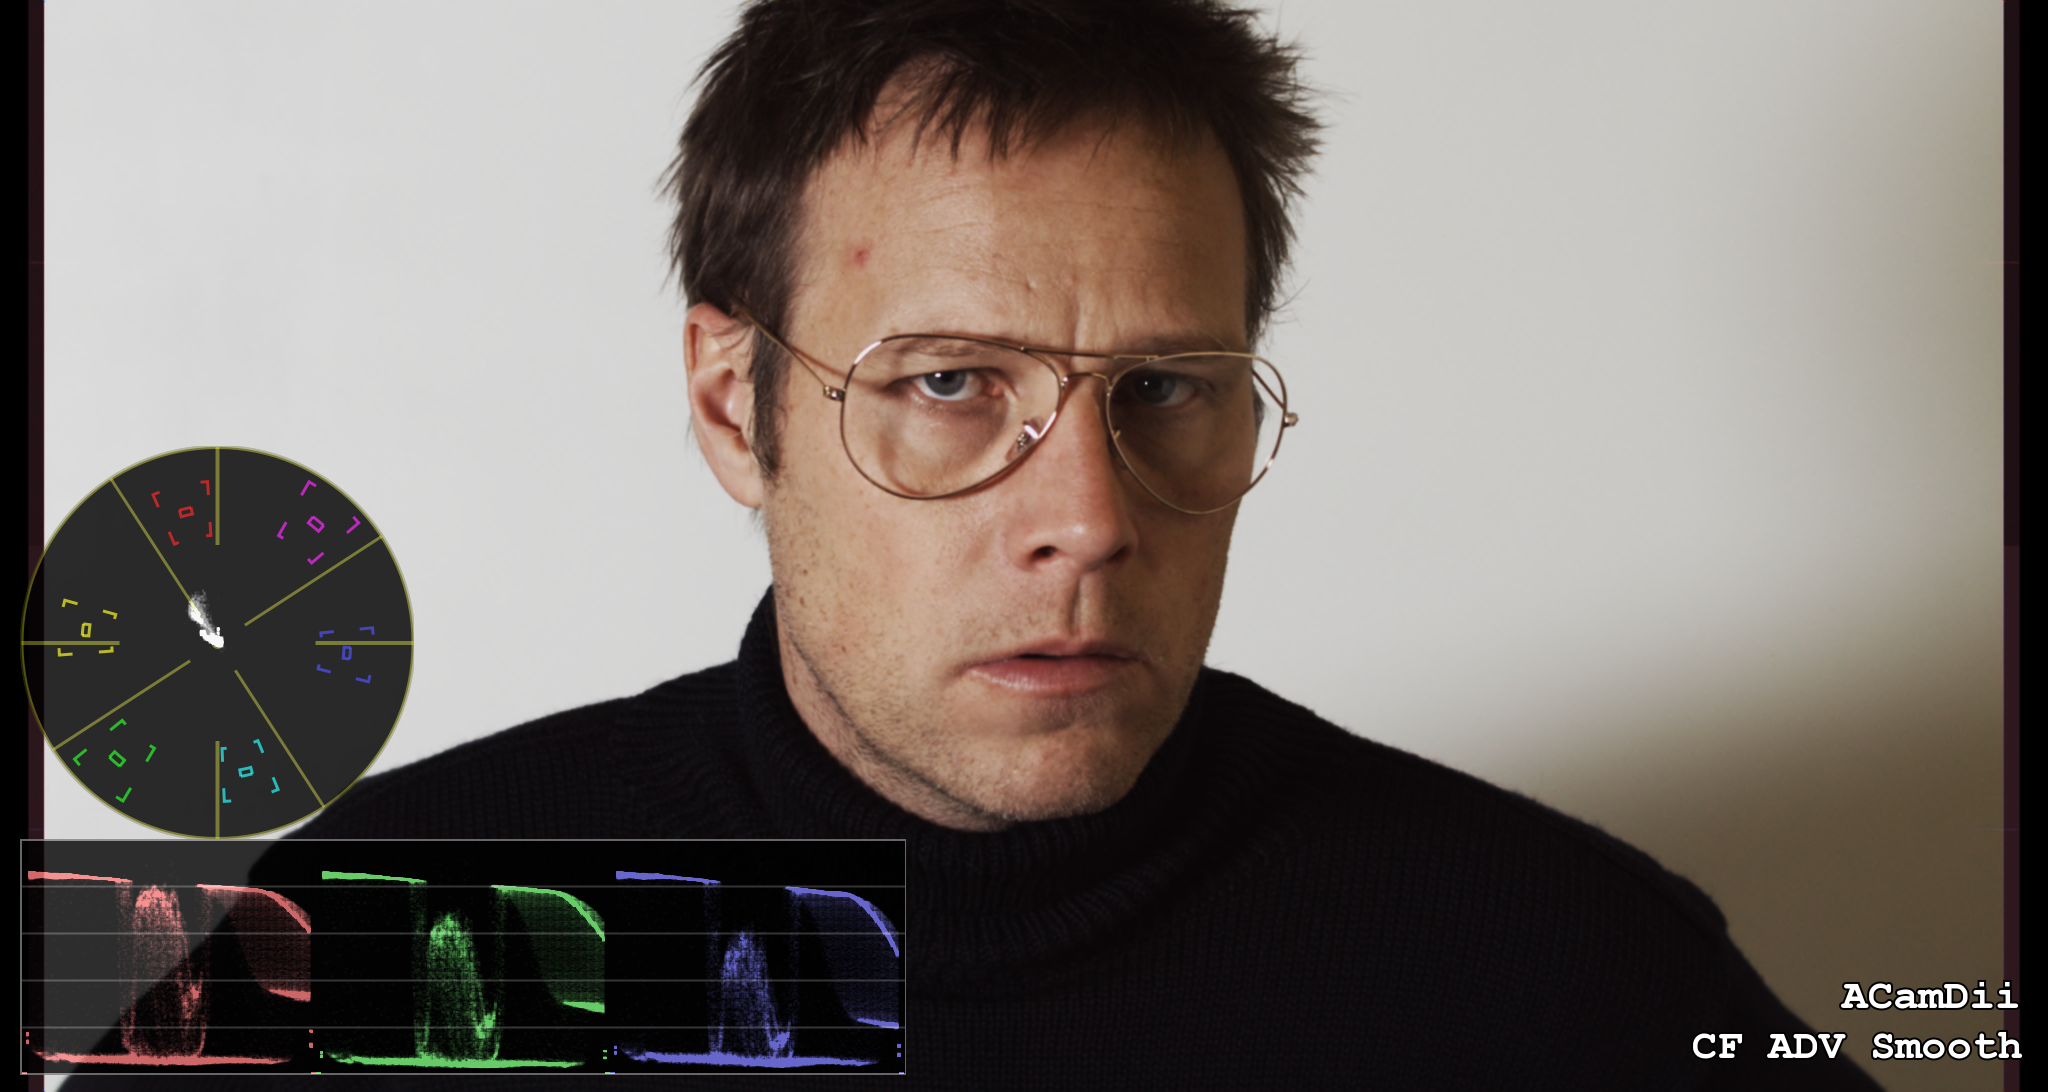
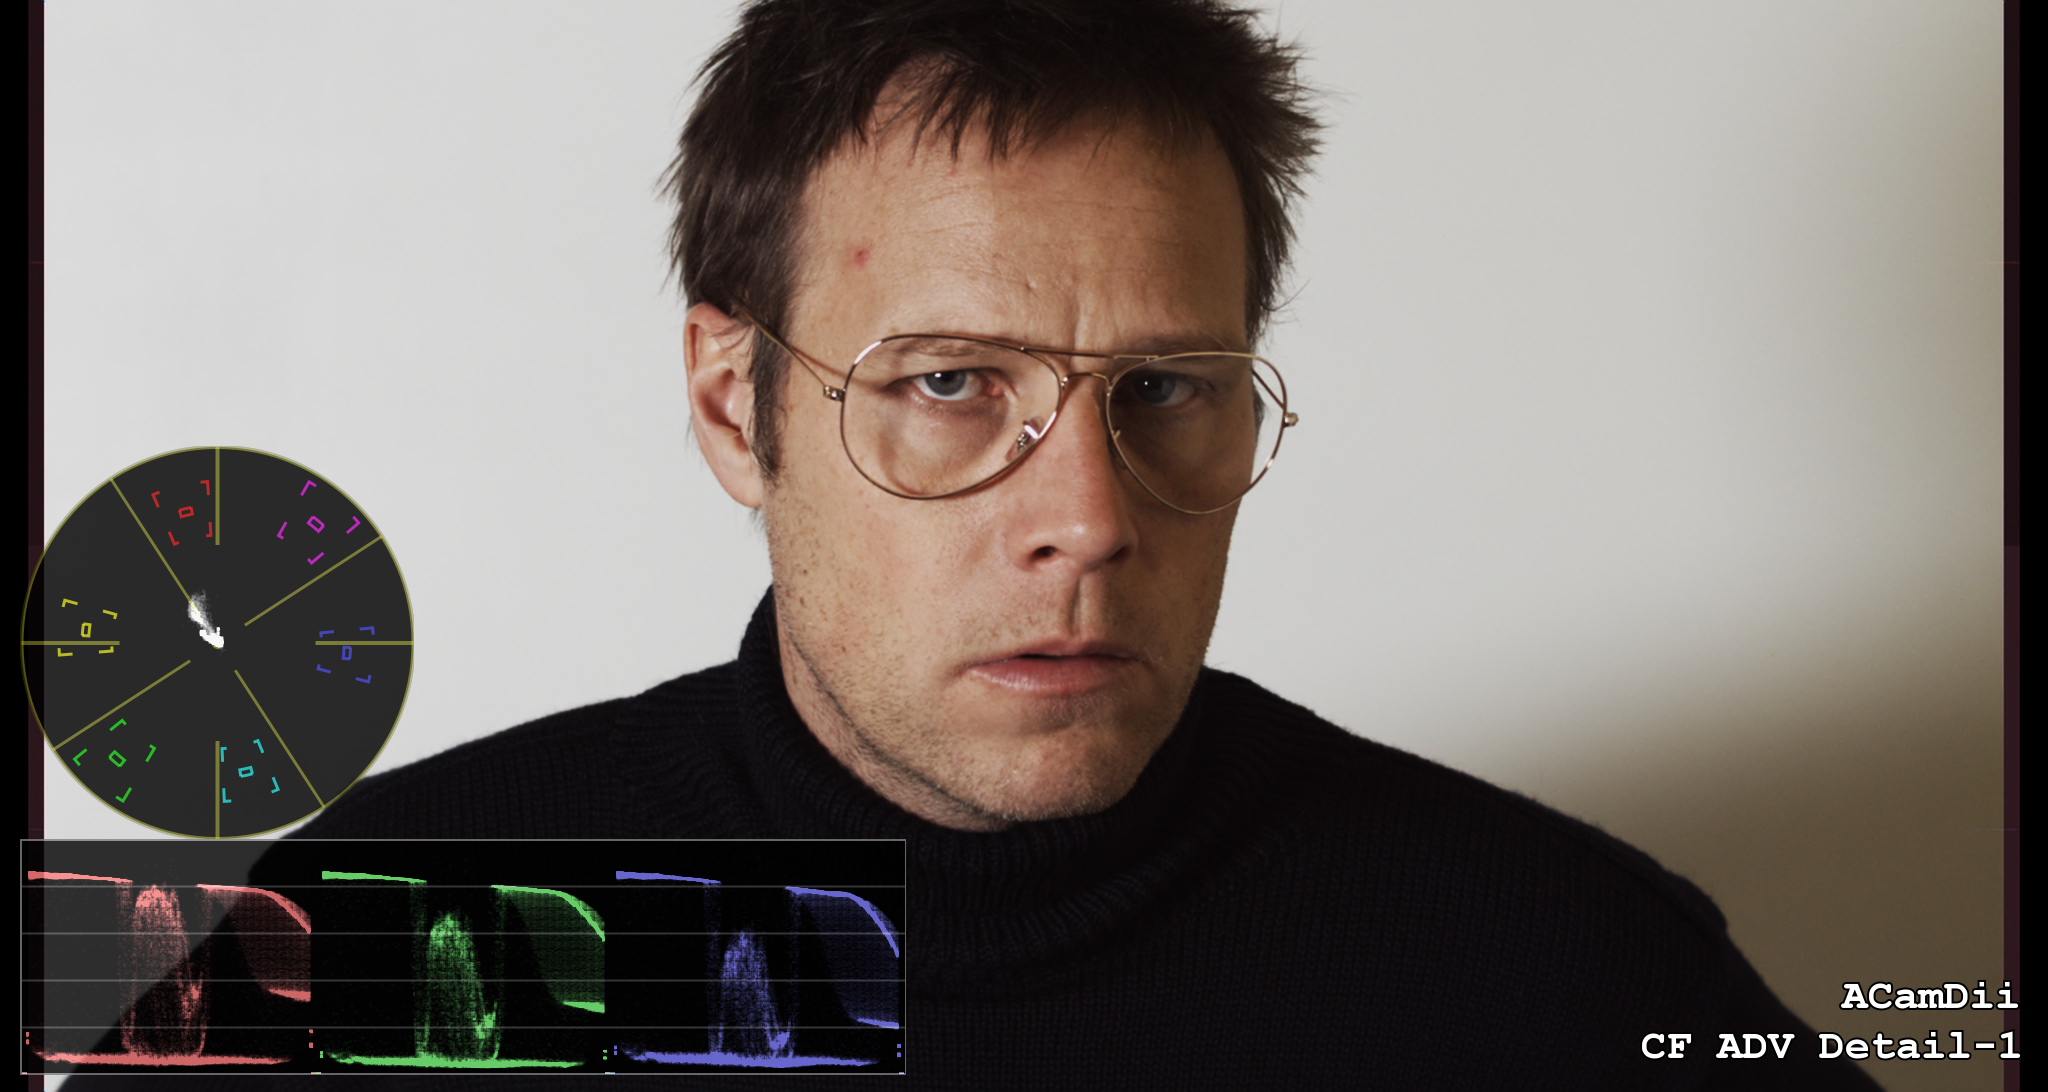

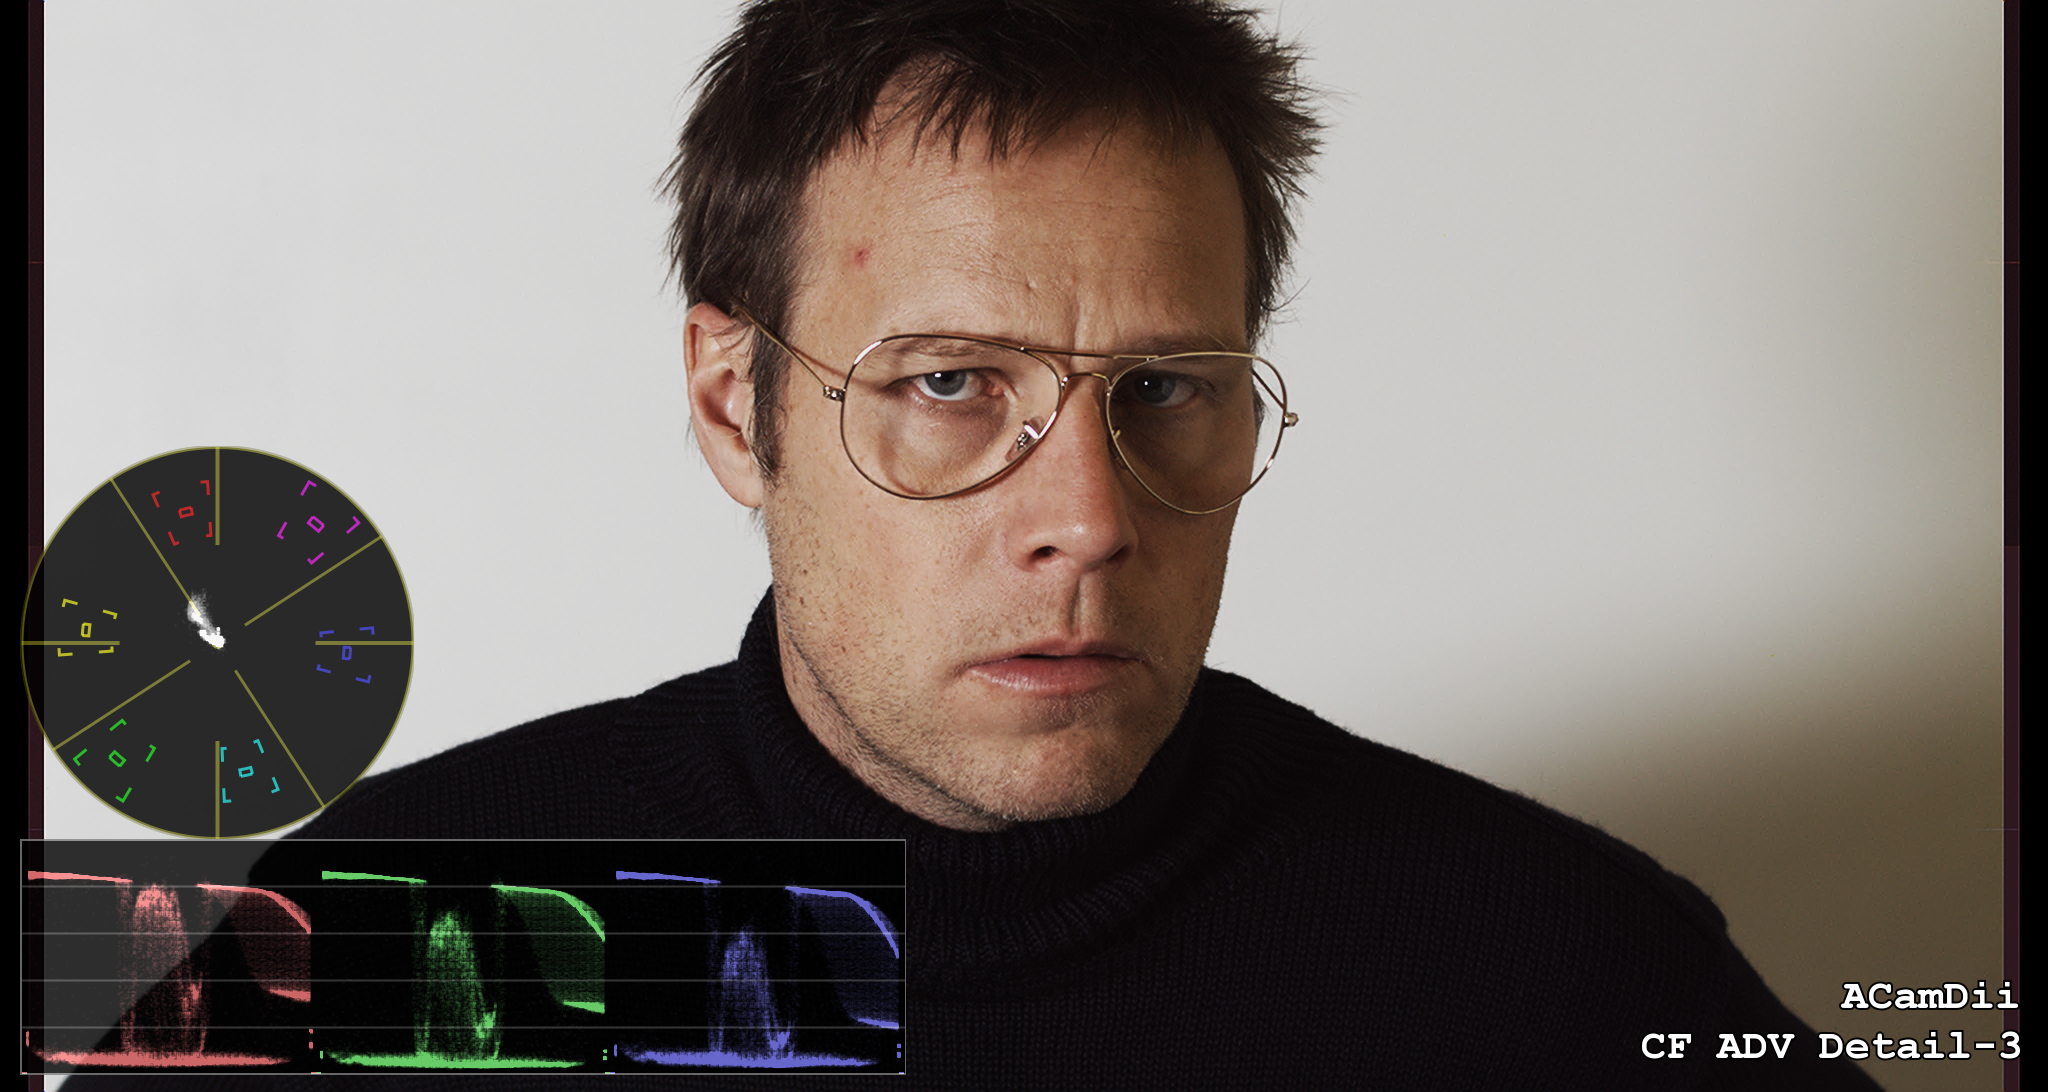
More metrics. Source 52 frames, 166MB as DNG files; compressed to CineForm RAW in Filmscan-1 quality is 20.1MB (used in examples), and CineForm RAW in Filmscan-2 is 33.5MB.
 The FirstLight color database entry (unzip and double click) is only 476 bytes to convert this to this.
 If you you would like to repeat these tests yourself, get the latest Neo4K or 3D and these DNG source frames.
Sunday, November 28, 2010
Camera RAW to CineForm RAW
For a while now I've been wanting to finish a Camera RAW to CineForm RAW converter, so after the long weekend of Thanksgiving, I've completed the first pass. As CineForm RAW is a motion format and camera RAW typically not, this particular hack is mostly for those wanting the highest quality processing for stop motion or timelapse video/photography.
So far I've only tested with Canon 7D .cr2 files (5184x3464 -- i.e. big for video) and ACamDII .dng files (standard 1920x1080) but the code library RawSpeed, is pretty versatile with this list of supported cameras. As RawSpeed is an open source project of Klaus Post, I have included my source with changes here, mainly a stub for the DLL and patches for ACam support.
So how to use this new tool. This is currently PC only, and it requires the use of the command prompt (yes very scary.) You will also need at least version 5.2.4.287 of Neo4K or Neo3D. As 5.2.4 is currently newer then the public release, download here Neo4K or Neo3D (these a 15-day trials if you don't already have an activation.) Uninstall any previous build and install the latest.
The RAW support is an extension of the existing DPX2CF tool, which now supports TIF, DNG, CR2, NEF, etc. Currently very few of the existing switches work with RAW sources, basically just frame rate (-fX) and quality (-qX). For a folder of sequential RAW files:
>dpx2cf v:\pics\*.cr2 v:\video\sequence.avi -f23.976 -q4
That is it -- it will batch all files with the name ending in .cr2 within the folder v:\pics\ and output to v:\video\sequence.avi. If you intend the results of the Mac:
>dpx2cf v:\pics\*.cr2 v:\video\sequence.mov -f23.976 -q4
In either case you will see the processing like this
E:\CR2>dpx2cf *.cr2 new.avi -f23.976 -q4
Sorting on filename
705 frames found TC: base:24
loaded IMG_1987.CR2
loaded IMG_1988.CR2
loaded IMG_1989.CR2
loaded IMG_1990.CR2
loaded IMG_1991.CR2
loaded IMG_1992.CR2
loaded IMG_1993.CR2
...
If you are working with 14MPixel or above sources, your resulting videos are rather large, bigger than any video you will have attempted to play before (around twice the size of Red One footage.) As a result don't expect them to playback at 24fps, my home i7 920 plays 5.2K 7D sequences as 12fps. It is the demosaic computation that is slowing it down, so set the playback to half res (use the 'C' icon in the status bar,) at 2.6K I can play at 36fps. If you want to preview at quarter res (still better than 720p HD), download this registry patch, unzip, and double click on the .reg file to enable.
The real fun happens when you load these timelapse/stop-motion clips into FirstLight, CineForm's image development tool, all the RAW image glory is there for your tweaking. The image hasn't even been white-balanced yet, so all the data is there from the noise floor to the clipping point.

This Canon 7D image, shows a green tint as the sensor is more sensitive in that channel. In FirstLight all your color corrections are simply metadata, so nothing needs to be render for these results to be seeing in other tools.
Some interesting metrics. The CineForm RAW decodes many times faster than the source RAW file, is compatible with significantly many more video tools, and is 4-5 times smaller. The Canon CR2 files are 14-bit linear with a TIFF compression. 5184x3464 @ 14-bit is 30MBytes per frame, compressing to CR2 around 20MBytes per frame, is only 4.5MBytes per frame as a Filmscan-1 quality CineForm RAW file. Wouln't it be great to have CineForm compressed stills for our DSLRs.
Have fun.
----
Update: 11/29/10: while the binned camera modes like Canon's sRAW1/sRaw2 are in the compatible camera list for RawSpeed, they will not work with this RAW conversion tool which needs a true color filter array (CFA Bayer) image of the native sensor resolution (i.e. the best stuff.)
Update 2: Already getting great feedback. Fixed a bug that impact several cameras, just not the one's I was testing -- typical. I will refresh the main downloads around 12noon PST. If you have already downloaded Neo4K or 3D all you need is a this DPX2CF version v6.01 (install in C:\Program Files (x86)\CineForm\Tools.)
---
| Update 12/9/2010: I have now used these tools for my own timelapse, have just purchased the Satechi controller for my Canon 7D. I generated this sequence from 12GBytes of 645 .CR2 files. These 10second exposures with a 15second total interval. Used a 28mm lens set to F2.0 at ISO 200. The resulting 5184 x 3456 CineForm RAW AVI was loaded into CineForm FirstLight for color correction and keyframed image cropping. This was then loaded into VirtualDub for scaling to 1920x1080. I use CS5 Adobe Media Encoder to produce the 1080p mp4 upload. |
My first night sky timelapse from David Newman on Vimeo.
Update 2/22/2013: It continue to see a lot of interest in this blog entry, and the good news is the camera RAW to CineForm RAW is now a feature within the GoPro CineForm Studio Premium/Professional packages. For those that don't like to use a shell, you now don't have have to. The only downside, this is still Windows only -- we use a open source camera RAW library that is difficult to port to Mac, but we are working on a solutions for Mac RAW support.
Saturday, November 13, 2010
Why use an intermediate for DSLR video?
I had two inquiries today on using native DSLR in today's modern NLEs vs CineForm intermediates. Both these users who knew to use CineForm for finishing, multi-generation and effects renders, but wondered if the native DSLR decoding of the NLE was now the same quality. While CineForm has been known for its performance and workflow advantages for mixed media, sometimes users forget we are solution for source file quality also. Pretty pictures to follow.
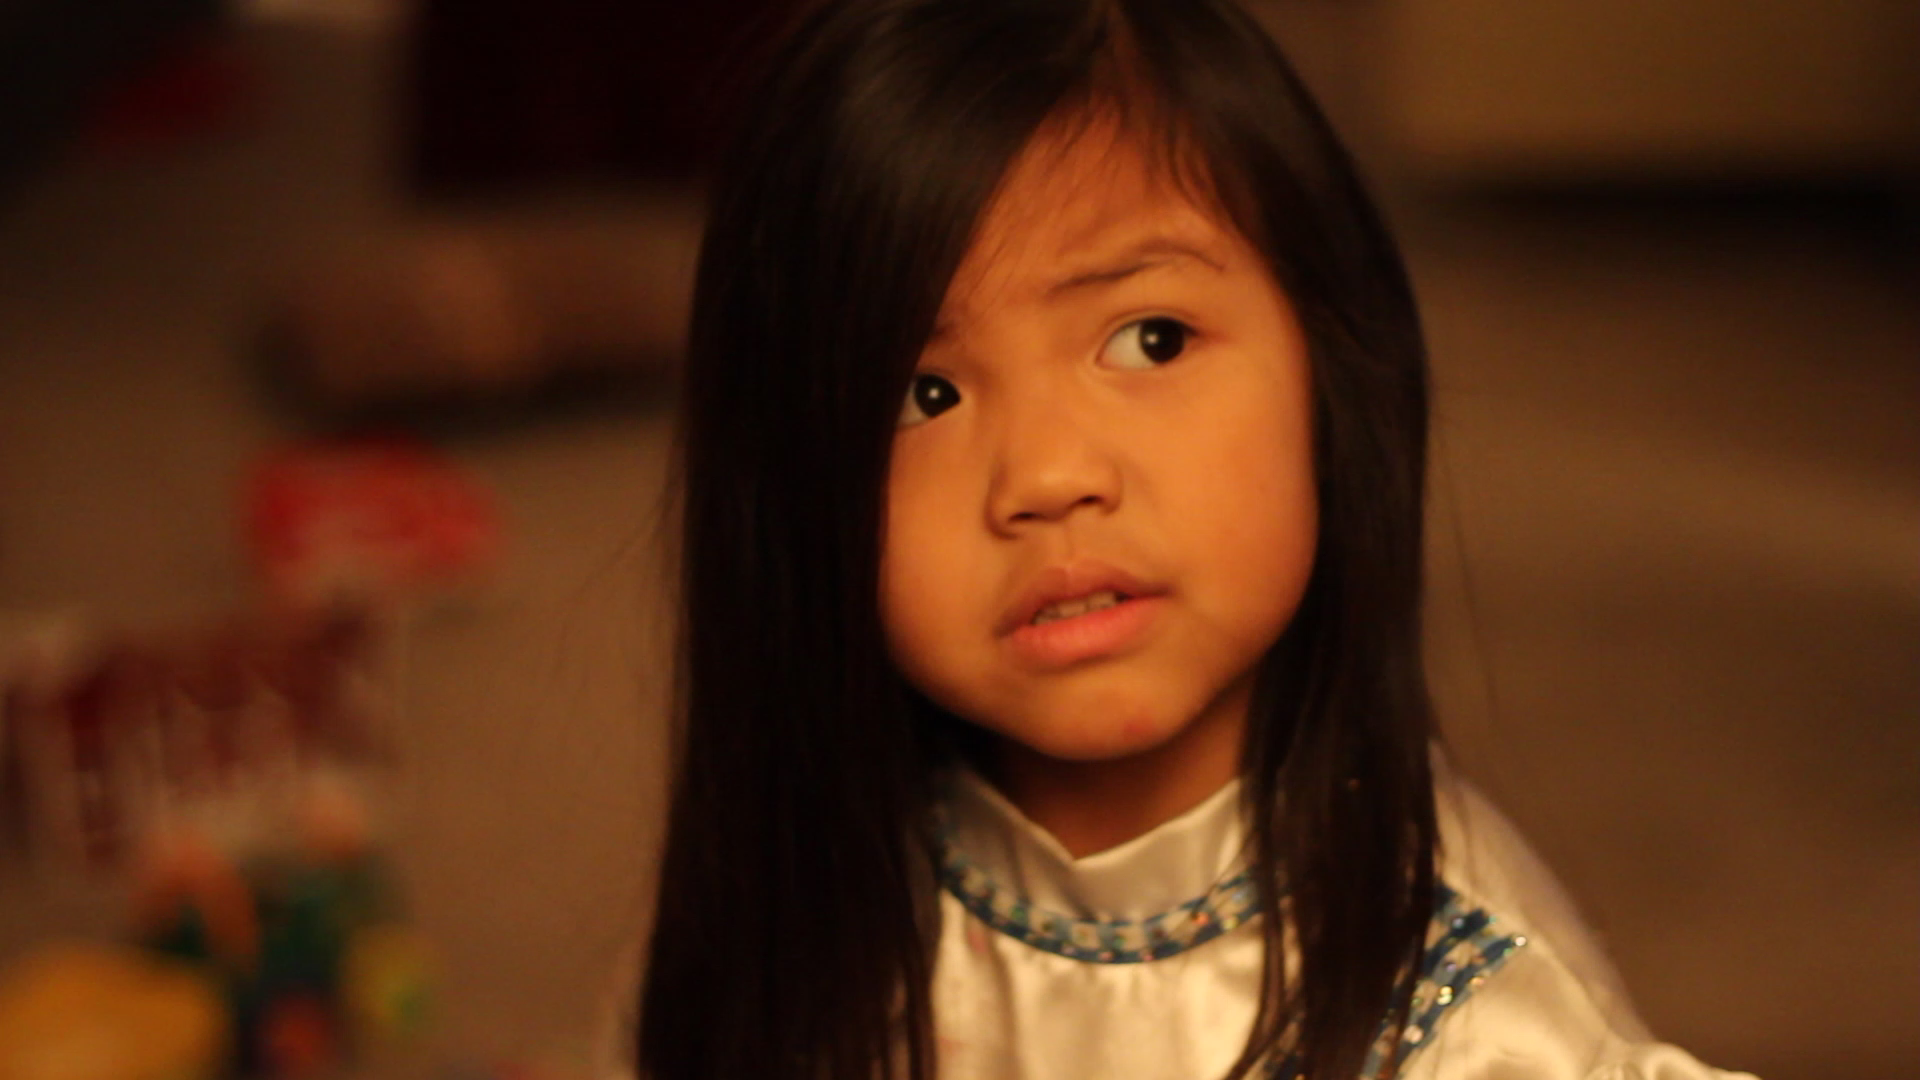
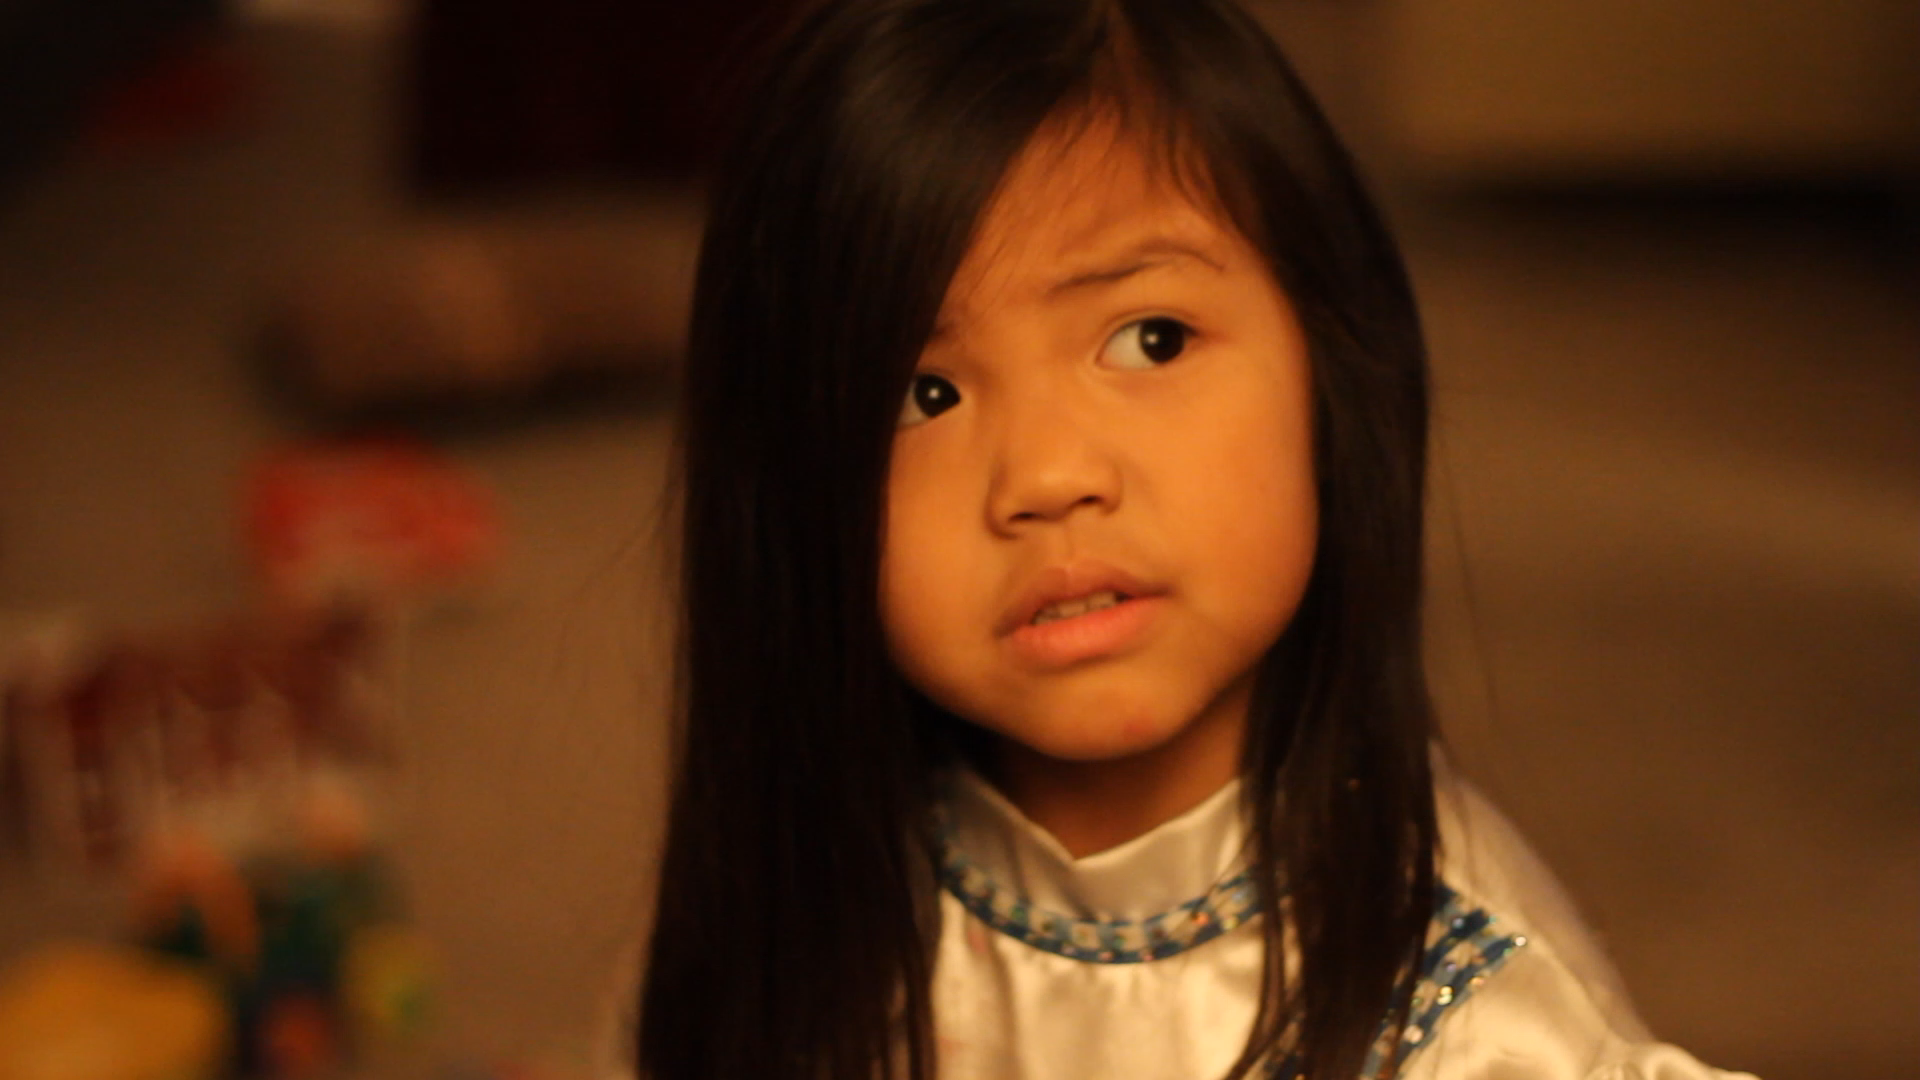
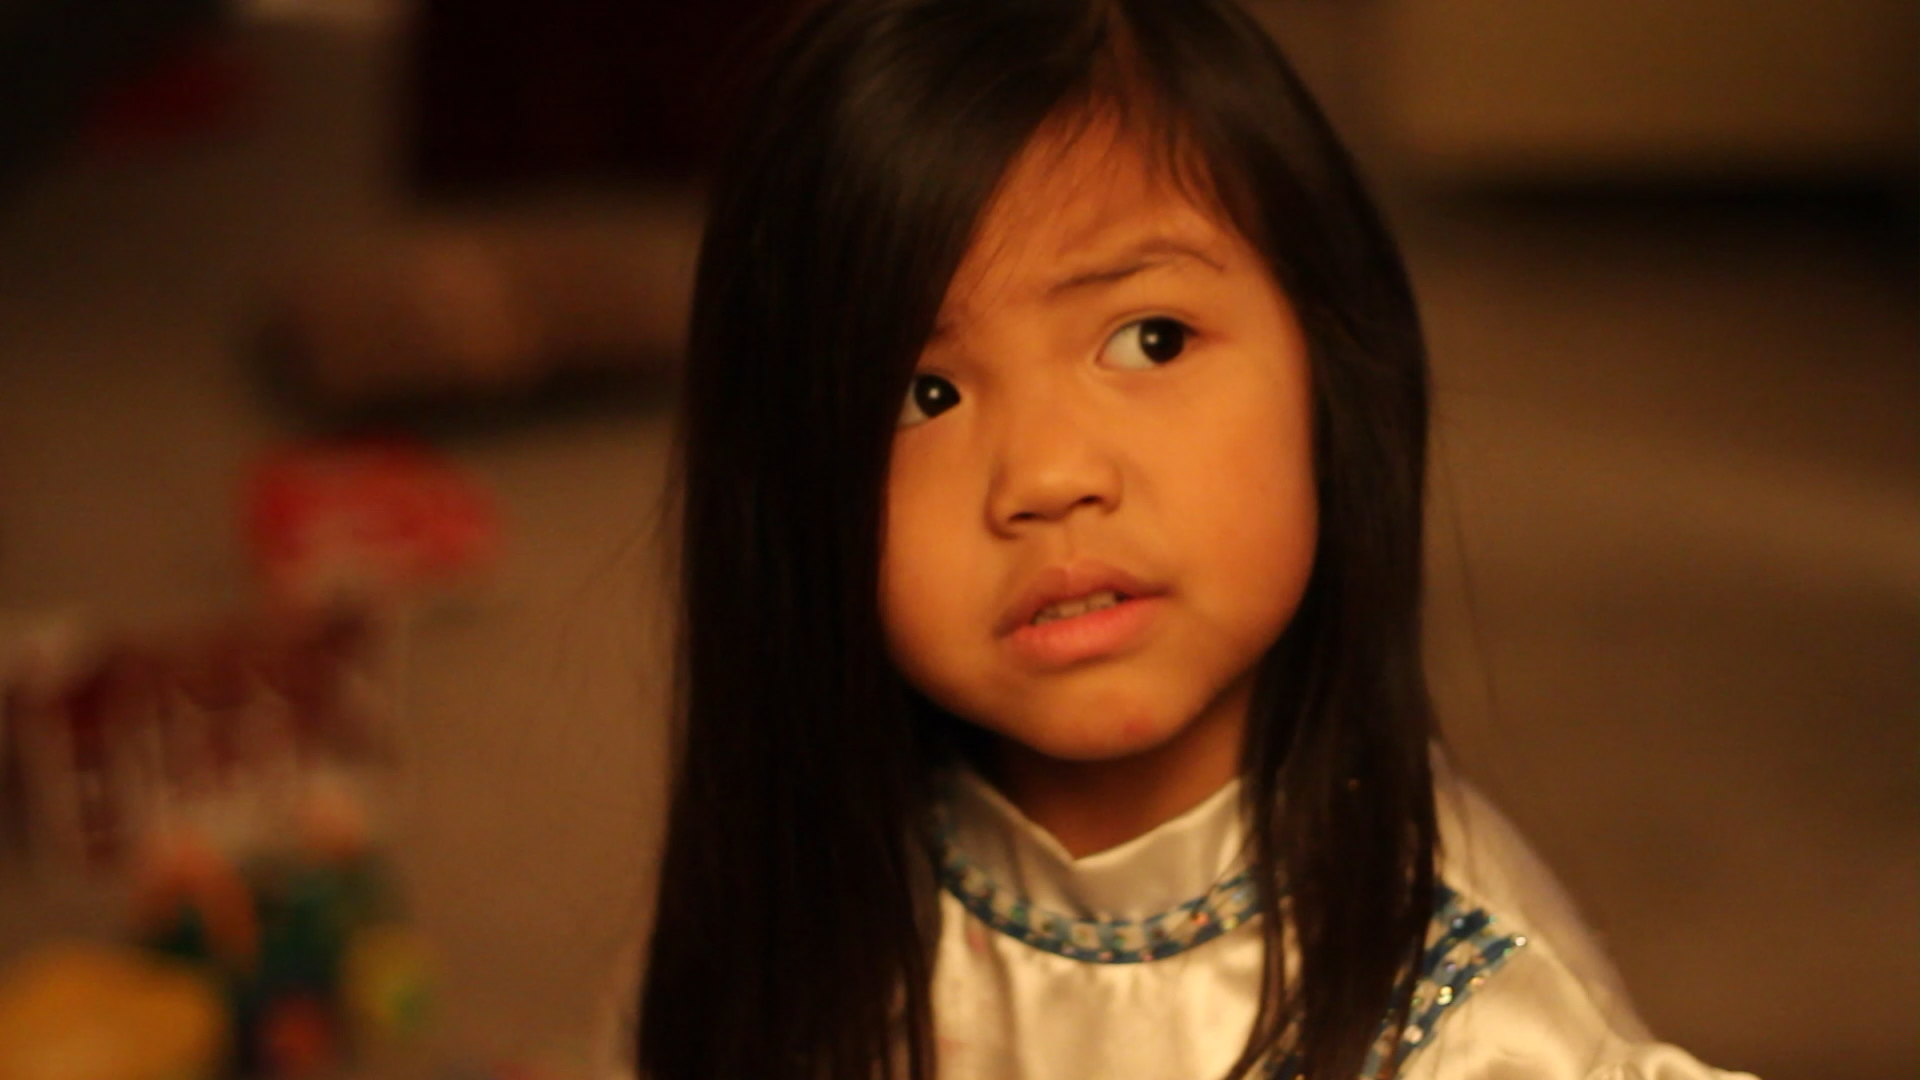
The linked image below was from one of the first videos I took with a 7D of my daughter in poor lighting with some ISO gain, and likely that plastic 50mm -- so not the best shooting conditions and in need for some color correction and maybe some sharpening. The more you have to correct the image, the more important the source image quality is.
Source MOV decoded within CS5 and output as a PNG (1.09MB).
Source MOV decoded within Vegas 10 and output as a PNG (1.10MB).
Source converted with NeoHD's HDlink to a CineForm AVI imported into CS5 and output to a PNG (2.04MB).
Viewing the above linked images at 1:1, the CineForm and CS5 output will look identical, Vegas has a small color shift as it is likely not compensating for the 601 colorspace used in Canon DSLR cameras, but otherwise maintains the same detail and dynamic range. While both the CS5 and Vegas outputs have undergone less processing, it is the CineForm output that is more color correctable. You may have also noticed the CineForm source PNG is nearly twice as large as a either of the NLE native decodes.  This is due to the CineForm output having more continuous tones, and a better 4:2:0 up conversion, resulting more "information" for the PNG compressor to store -- information is in quotes, as clearly there can be no more source data than the original MOV, yet there are image development choices they can make that limited data more useful to the filmmaker.
 Zooming in on the source you can see some of the source's H.264 compression, but more apparent is the 4:2:0 chroma artifacting, greatly reduced in the CineForm output. The chroma artifacts can be seen as the break-up of the image into 2x2 pixel regions, particular where the chroma is change rapidly (i.e. color edges.)
 The CineForm file's has no such 2x2 chroma break-up and produces more natural looking continuous tones, which are more suitable for extreme post processing via sharpening and color correction. Try it for yourself with the source data above.
All of this is independent to the amount of compression applied to the CineForm file. So while there are some that insist native is the ideal, and that a using an intermediate is a compromise, I think these images help demonstrate that with the right up-conversion, it is a compromise not to. :)
-------------------
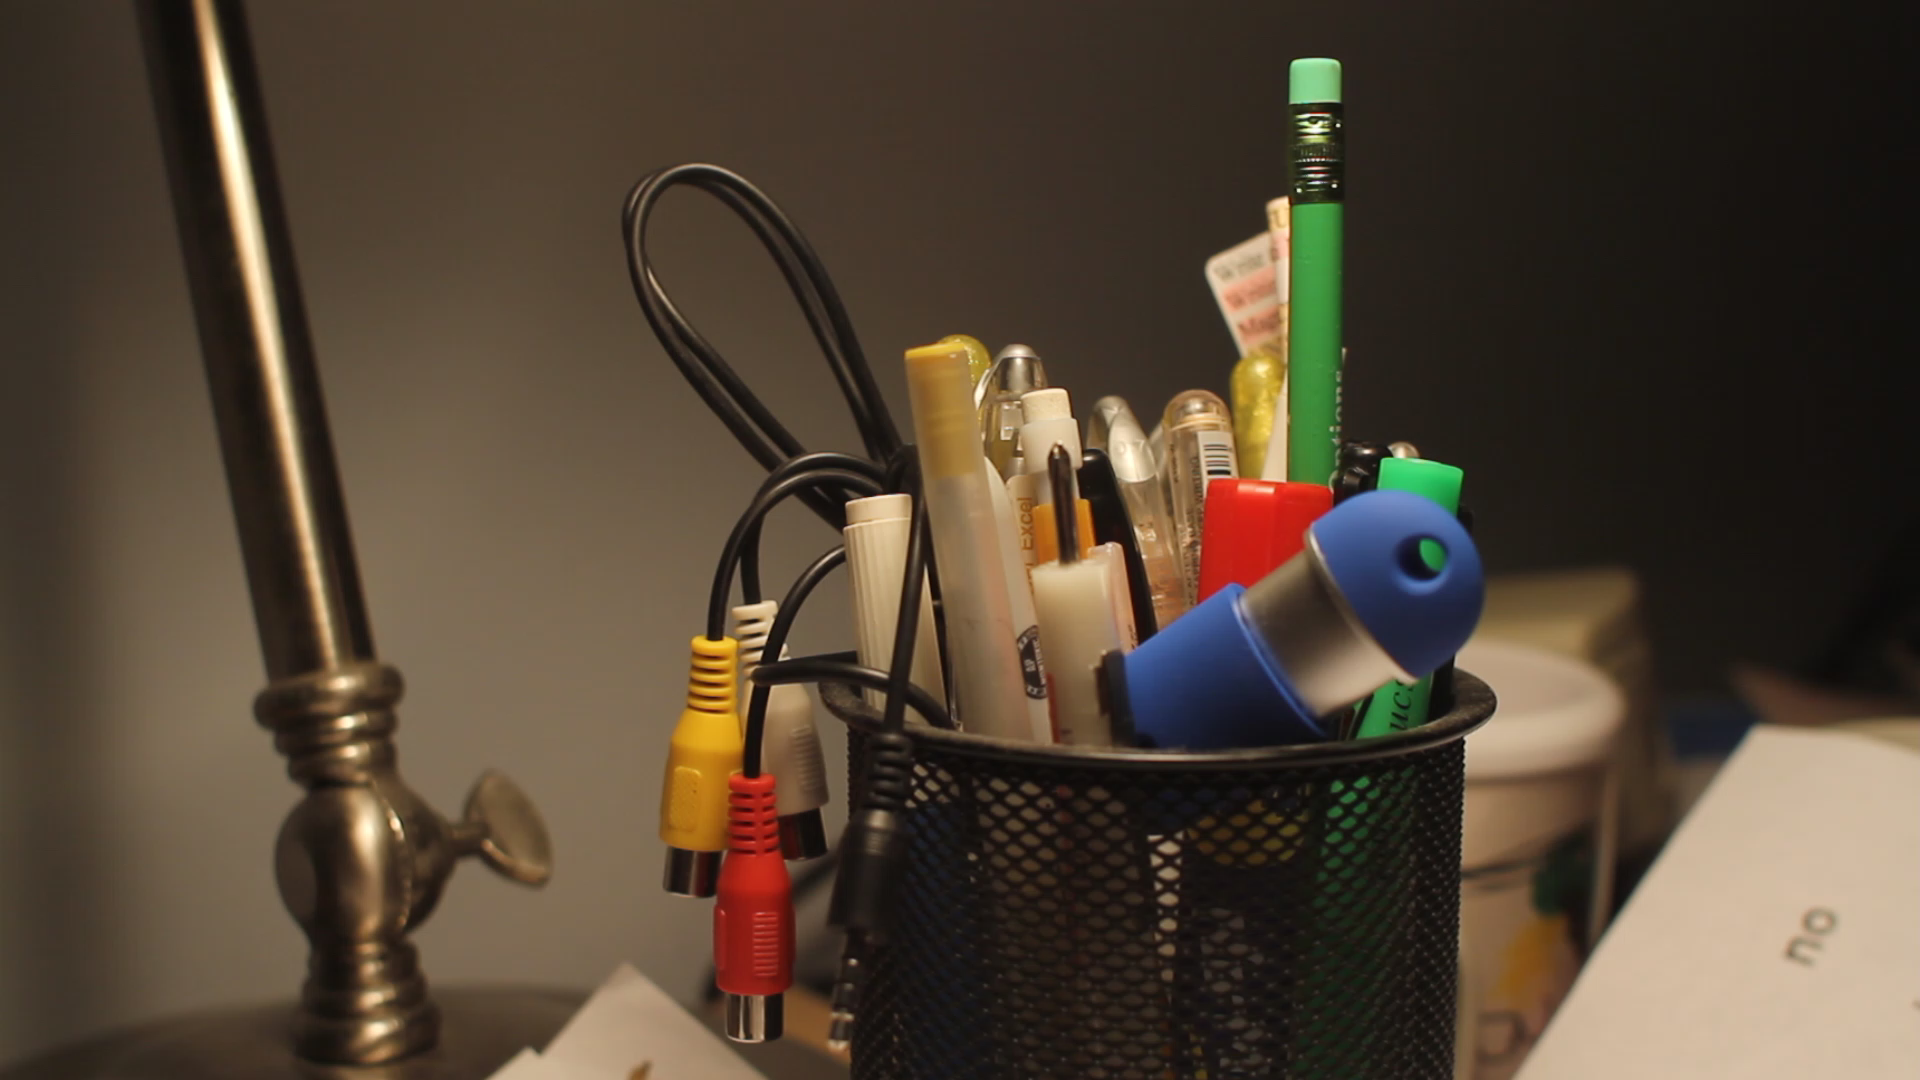
Update: I realized after posting that the face is actually more forgiving with these chroma artifacts, so I shoot a scene with sharper color transitions.
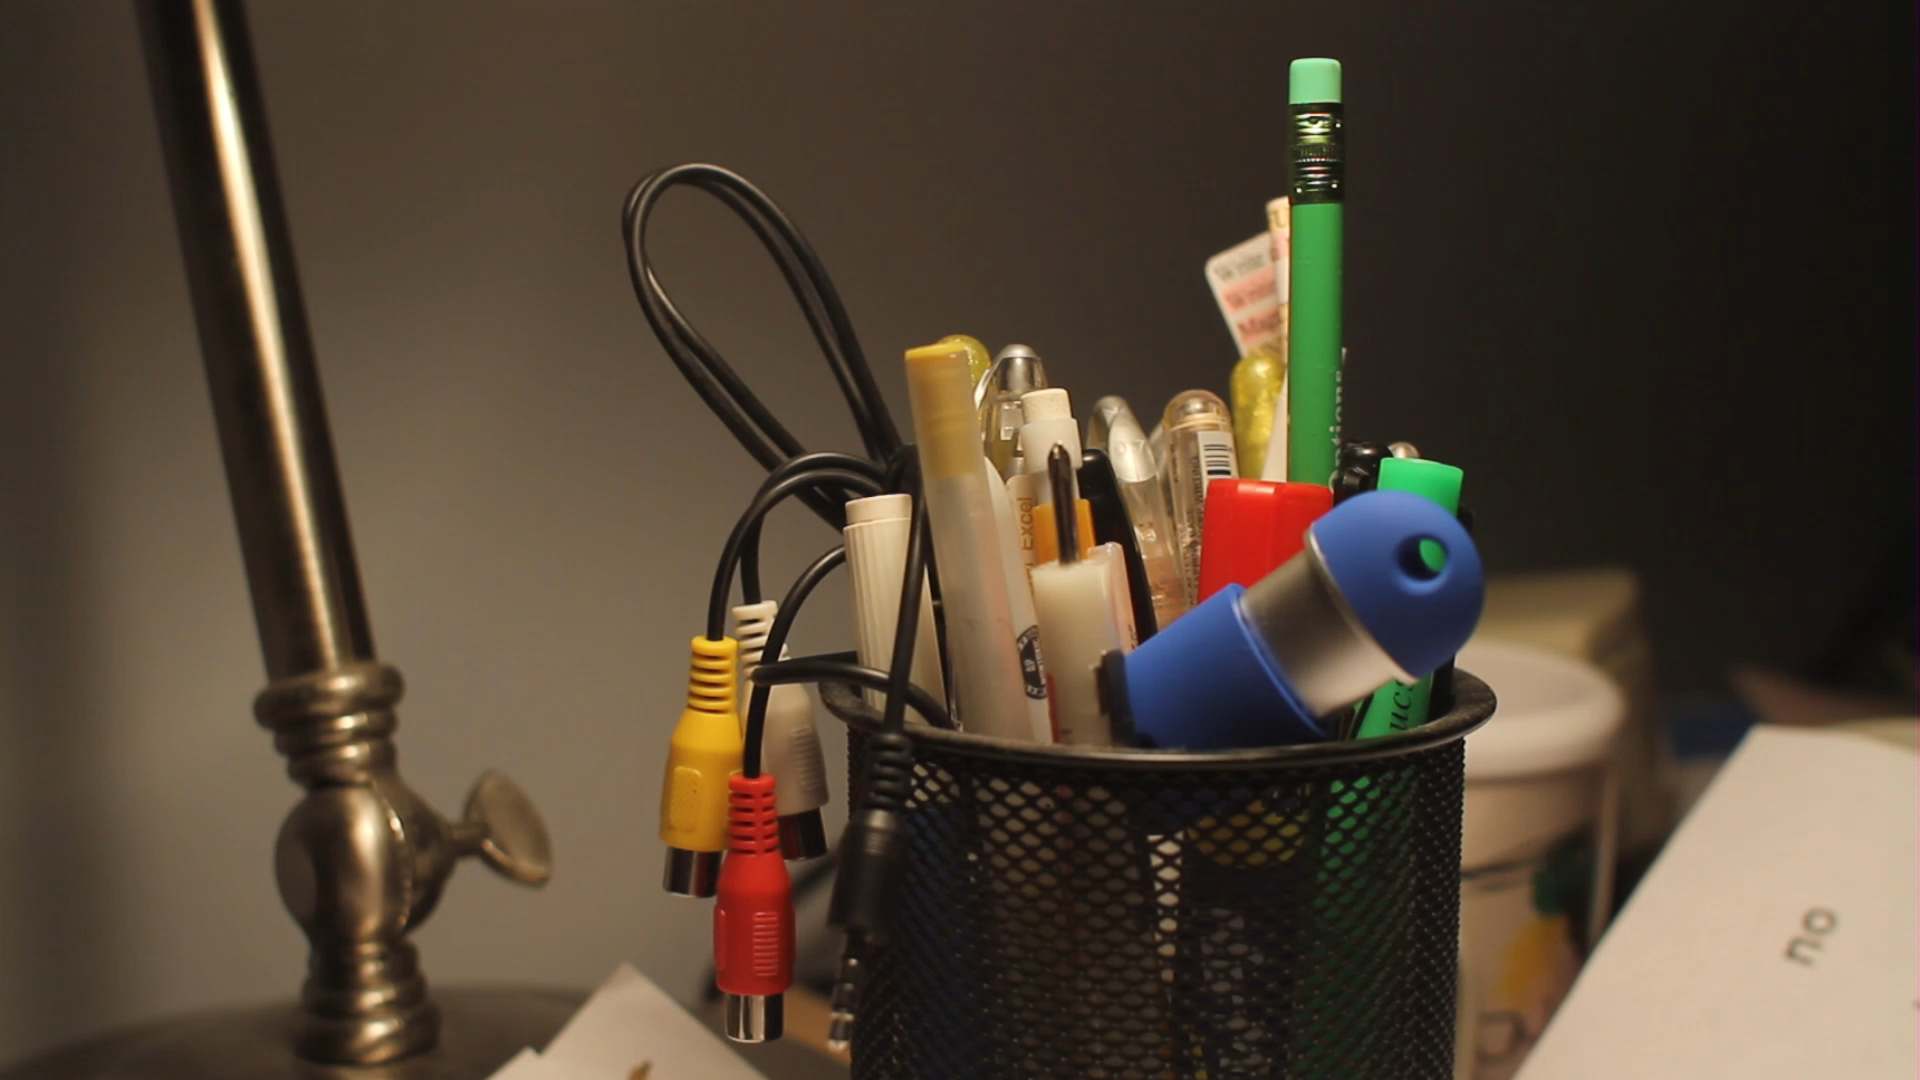
Source MOV of colored pens decoded within CS5 and output as a PNG (866KB).
Source CineForm colored pens imported into CS5 and output to a PNG (1.18MB).
 Even without any zoom, the resolution loss at the color change boundaries is quite apparent. If you are not seeing it, look at the top red edge and the curve in the blue, and pump up the saturation. As saturation increases the perceived resolution drops approaching quarter res HD.
While these are considered common 4:2:0 artifacts, the CineForm image is from the same 4:2:0 source. All images benefit from this style of up-converison filtering -- I just wish my HDTV would do it, as I feel I'm watching 960x540 for the many deeply saturated TV shows.
------
Update 2: Some may perceive the chroma jaggies as sharpness, when fact all outputs are equally as sharp in luma. The jaggies in the chroma make artificial edges that eyes can see as detail, even though it is false detail. This false detail will make any downstream sharpening more difficult. Just as it is in the camera setup, you do not want artificial sharpening, as you can add sharpening later, but it is much harder to remove.
Subscribe to:
Posts (Atom)