For a while now I've been wanting to finish a Camera RAW to CineForm RAW converter, so after the long weekend of Thanksgiving, I've completed the first pass. As CineForm RAW is a motion format and camera RAW typically not, this particular hack is mostly for those wanting the highest quality processing for stop motion or timelapse video/photography.
So far I've only tested with Canon 7D .cr2 files (5184x3464 -- i.e. big for video) and ACamDII .dng files (standard 1920x1080) but the code library RawSpeed, is pretty versatile with this list of supported cameras. As RawSpeed is an open source project of Klaus Post, I have included my source with changes here, mainly a stub for the DLL and patches for ACam support.
So how to use this new tool. This is currently PC only, and it requires the use of the command prompt (yes very scary.) You will also need at least version 5.2.4.287 of Neo4K or Neo3D. As 5.2.4 is currently newer then the public release, download here Neo4K or Neo3D (these a 15-day trials if you don't already have an activation.) Uninstall any previous build and install the latest.
The RAW support is an extension of the existing DPX2CF tool, which now supports TIF, DNG, CR2, NEF, etc. Currently very few of the existing switches work with RAW sources, basically just frame rate (-fX) and quality (-qX). For a folder of sequential RAW files:
>dpx2cf v:\pics\*.cr2 v:\video\sequence.avi -f23.976 -q4
That is it -- it will batch all files with the name ending in .cr2 within the folder v:\pics\ and output to v:\video\sequence.avi. If you intend the results of the Mac:
>dpx2cf v:\pics\*.cr2 v:\video\sequence.mov -f23.976 -q4
In either case you will see the processing like this
E:\CR2>dpx2cf *.cr2 new.avi -f23.976 -q4
Sorting on filename
705 frames found TC: base:24
loaded IMG_1987.CR2
loaded IMG_1988.CR2
loaded IMG_1989.CR2
loaded IMG_1990.CR2
loaded IMG_1991.CR2
loaded IMG_1992.CR2
loaded IMG_1993.CR2
...
If you are working with 14MPixel or above sources, your resulting videos are rather large, bigger than any video you will have attempted to play before (around twice the size of Red One footage.) As a result don't expect them to playback at 24fps, my home i7 920 plays 5.2K 7D sequences as 12fps. It is the demosaic computation that is slowing it down, so set the playback to half res (use the 'C' icon in the status bar,) at 2.6K I can play at 36fps. If you want to preview at quarter res (still better than 720p HD), download this registry patch, unzip, and double click on the .reg file to enable.
The real fun happens when you load these timelapse/stop-motion clips into FirstLight, CineForm's image development tool, all the RAW image glory is there for your tweaking. The image hasn't even been white-balanced yet, so all the data is there from the noise floor to the clipping point.

This Canon 7D image, shows a green tint as the sensor is more sensitive in that channel. In FirstLight all your color corrections are simply metadata, so nothing needs to be render for these results to be seeing in other tools.
Some interesting metrics. The CineForm RAW decodes many times faster than the source RAW file, is compatible with significantly many more video tools, and is 4-5 times smaller. The Canon CR2 files are 14-bit linear with a TIFF compression. 5184x3464 @ 14-bit is 30MBytes per frame, compressing to CR2 around 20MBytes per frame, is only 4.5MBytes per frame as a Filmscan-1 quality CineForm RAW file. Wouln't it be great to have CineForm compressed stills for our DSLRs.
Have fun.
----
Update: 11/29/10: while the binned camera modes like Canon's sRAW1/sRaw2 are in the compatible camera list for RawSpeed, they will not work with this RAW conversion tool which needs a true color filter array (CFA Bayer) image of the native sensor resolution (i.e. the best stuff.)
Update 2: Already getting great feedback. Fixed a bug that impact several cameras, just not the one's I was testing -- typical. I will refresh the main downloads around 12noon PST. If you have already downloaded Neo4K or 3D all you need is a this DPX2CF version v6.01 (install in C:\Program Files (x86)\CineForm\Tools.)
---
| Update 12/9/2010: I have now used these tools for my own timelapse, have just purchased the Satechi controller for my Canon 7D. I generated this sequence from 12GBytes of 645 .CR2 files. These 10second exposures with a 15second total interval. Used a 28mm lens set to F2.0 at ISO 200. The resulting 5184 x 3456 CineForm RAW AVI was loaded into CineForm FirstLight for color correction and keyframed image cropping. This was then loaded into VirtualDub for scaling to 1920x1080. I use CS5 Adobe Media Encoder to produce the 1080p mp4 upload.
Source 645 frames 12GB CR2 compressed.
Compressed to a single CineForm RAW AVI at 2.6GB
Scaled to a HD CineForm 422 AVI at 700MB
Compressed to 30Mb/s H.264 at 100MB
Displayed on Vimeo at xMb/s??? (I hope something watchable is left.) :)
|
My first night sky timelapse from
David Newman on
Vimeo.
Update 2/22/2013: It continue to see a lot of interest in this blog entry, and the good news is the camera RAW to CineForm RAW is now a feature within the GoPro CineForm Studio Premium/Professional packages. For those that don't like to use a shell, you now don't have have to. The only downside, this is still Windows only -- we use a open source camera RAW library that is difficult to port to Mac, but we are working on a solutions for Mac RAW support.
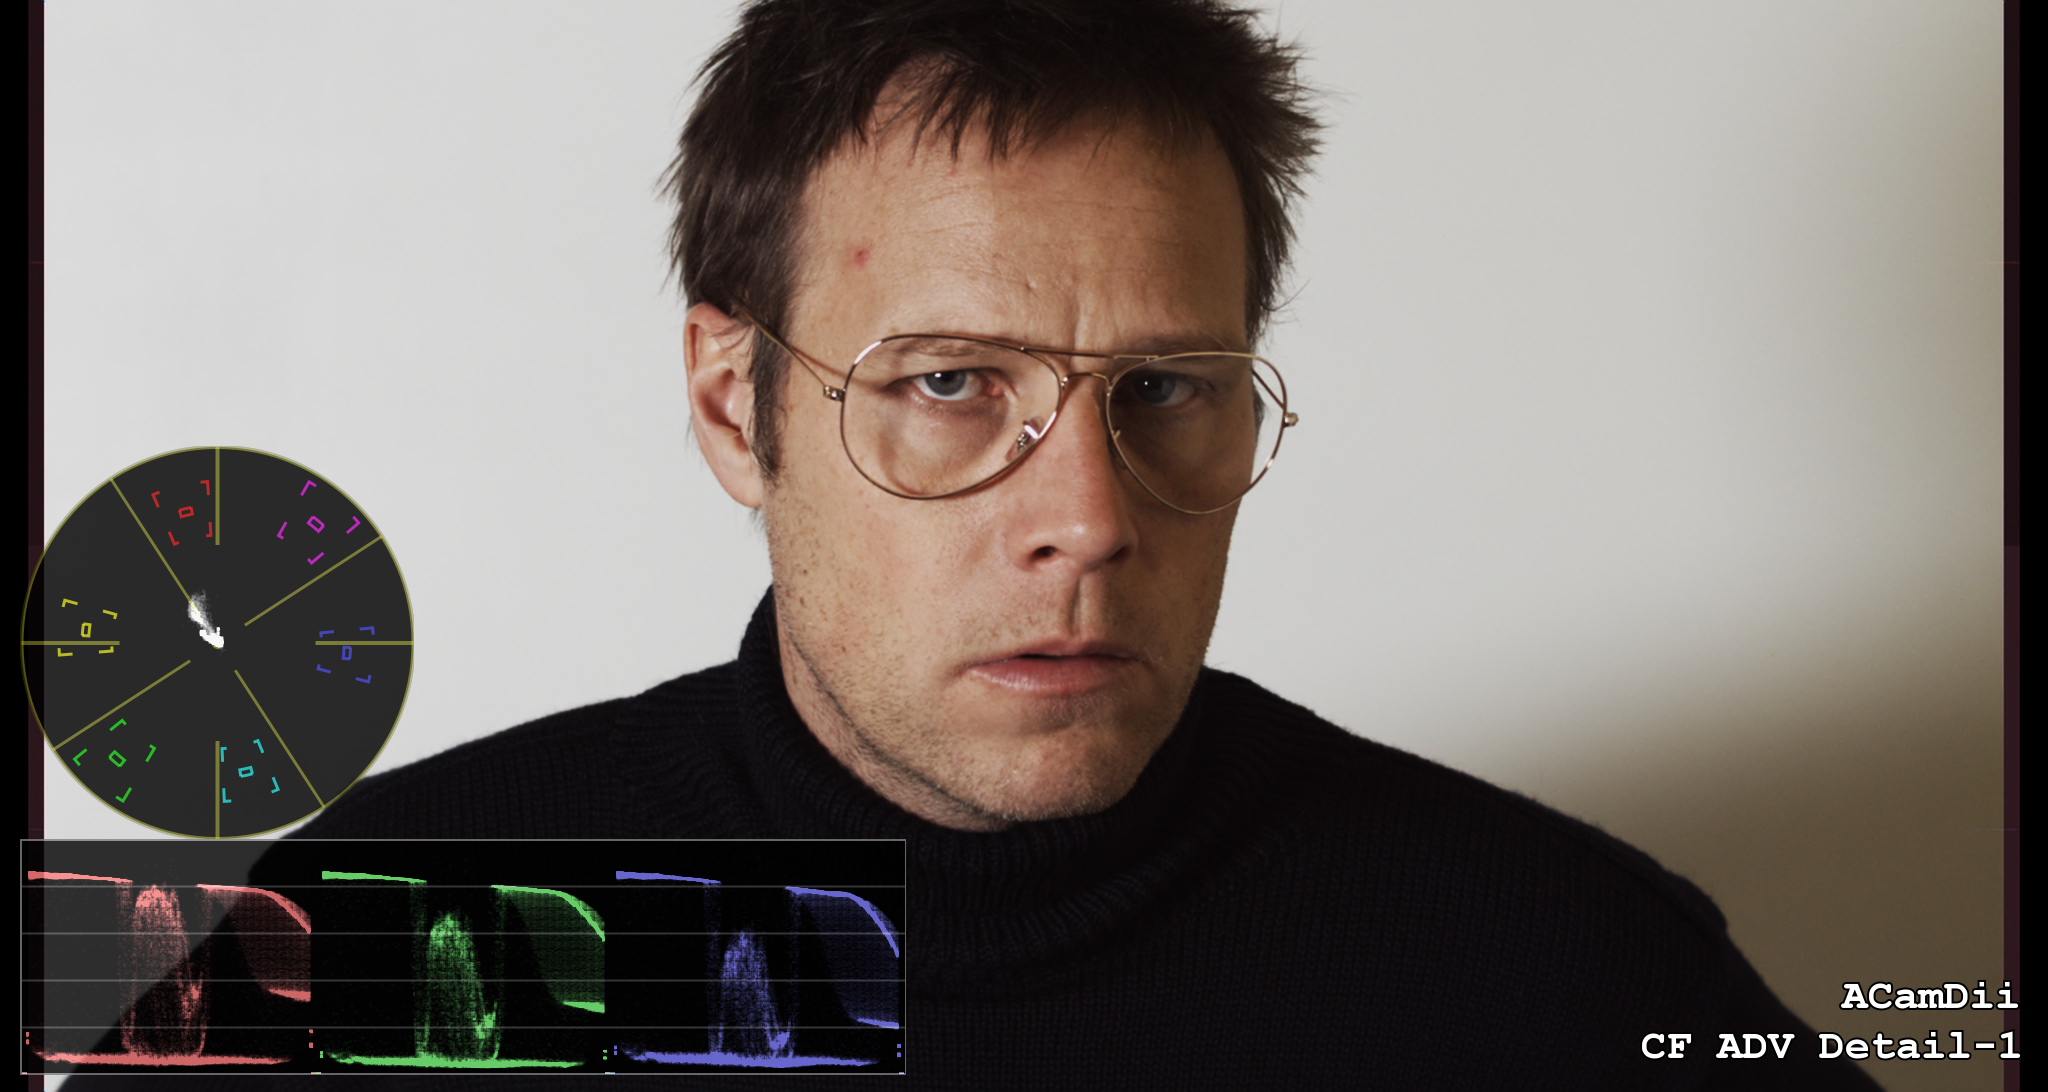
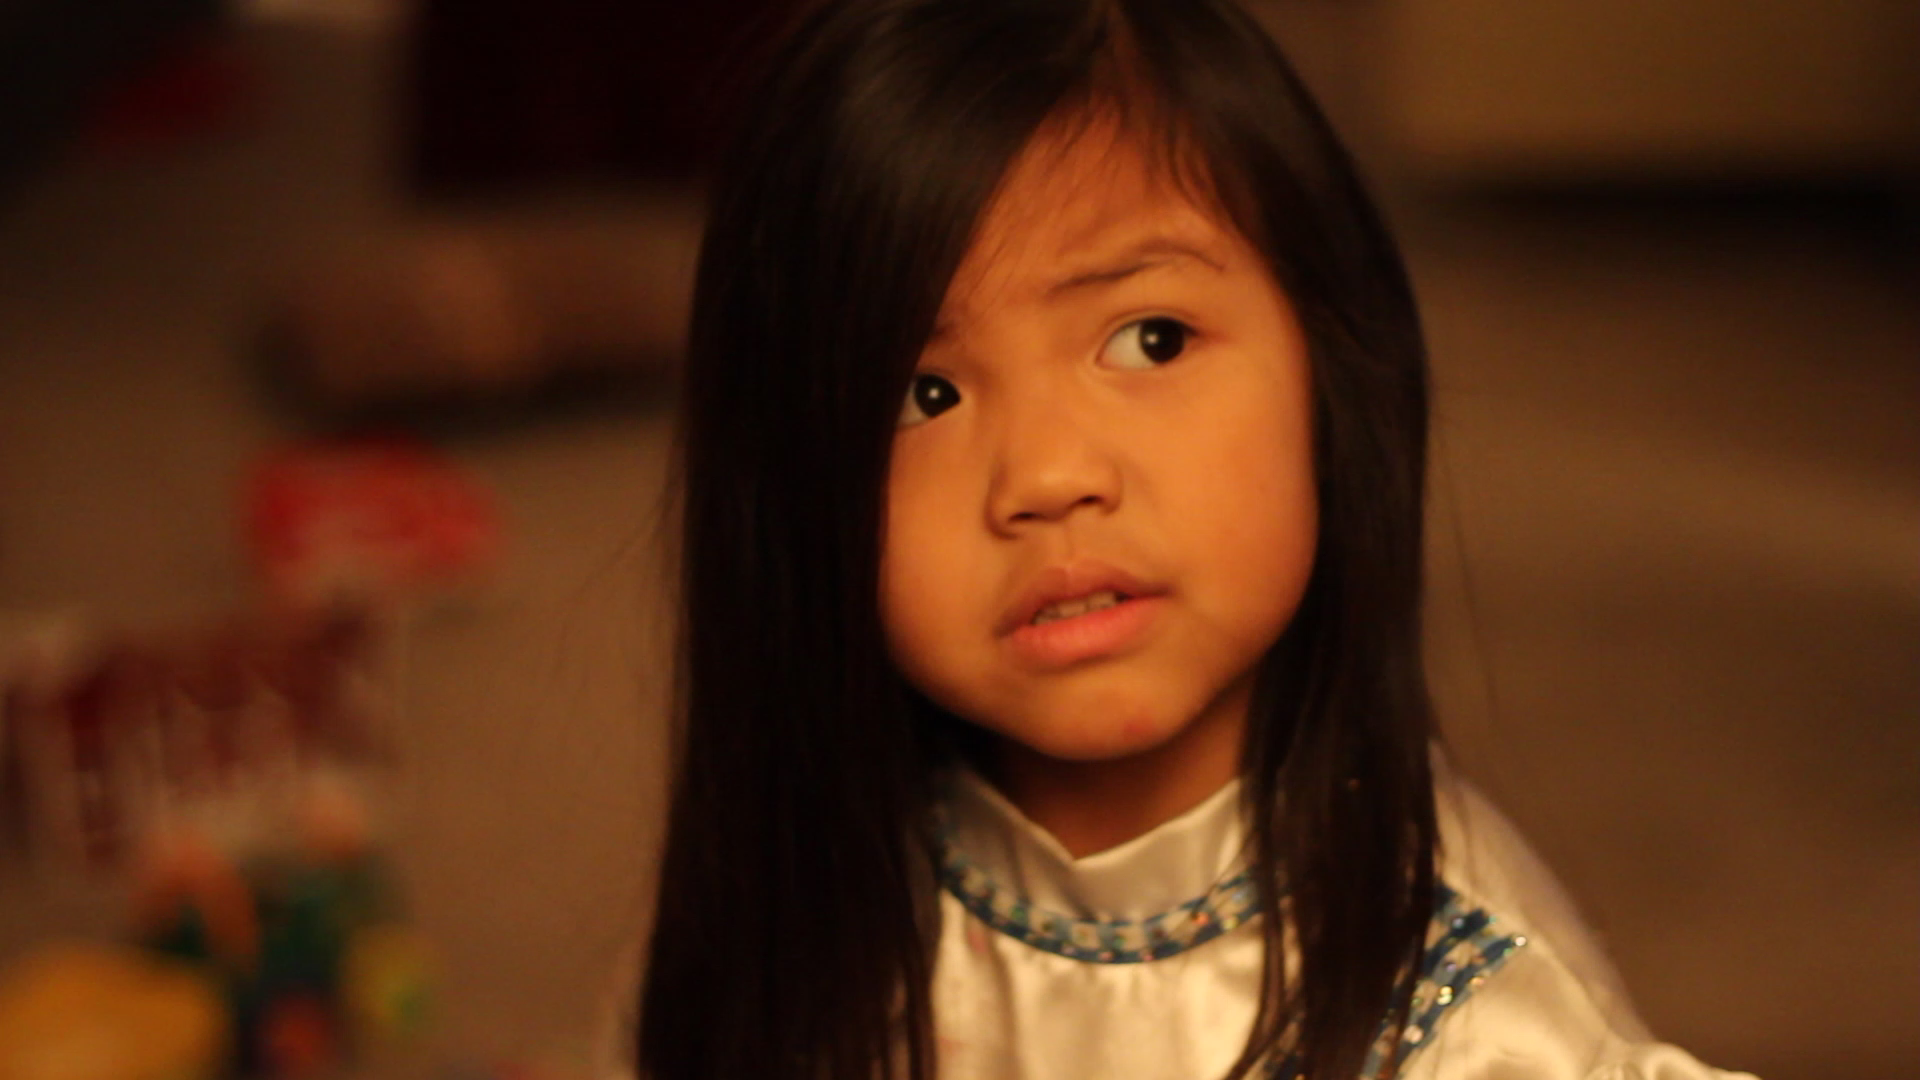
 Now that you have your Camera RAW images in a CineForm RAW file (see last post), remember to set the demosaicing quality/look in FirstLight. There are currently 9 different demosaicing filters to select from, each we slightly different image characters for detail and sharpness. This is just another control you have over the development of motion RAW sequences.
  The FirstLight color database entry (unzip and double click) is only 476 bytes to convert this to this.
  If you you would like to repeat these tests yourself, get the latest Neo4K or 3D and these DNG source frames.


